The strength of a microservices architecture lies in its simplicity: lightweight, self-contained components exposed via REST APIs and consumable by any service or application.
NTi Data Provider fits naturally into this approach. In just a few lines of C#, IBM i resources (DB2 tables, CL commands, RPG programs) can be directly exposed as ready-to-use REST endpoints.
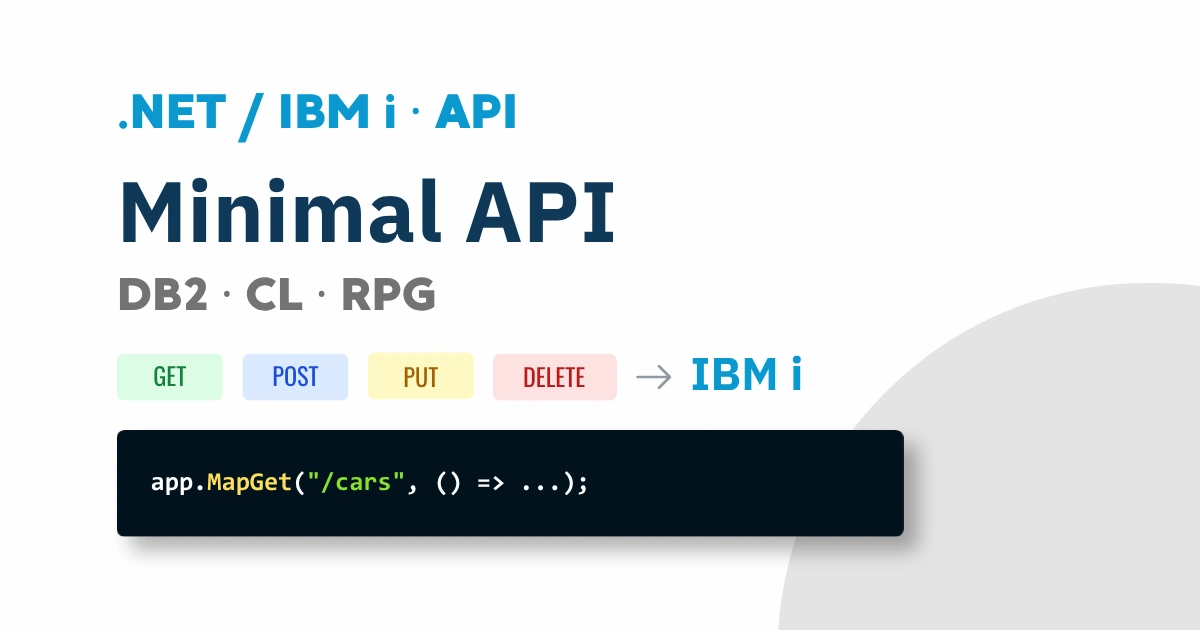
This tutorial shows how to build this API in .NET 8, without any middleware or complex framework. A reusable technical foundation that can be up and running in minutes, designed to concretely demonstrate how straightforward NTi is in a microservices approach.
The complete code for this example is available at the bottom of this page.
Step 1 - Initialize a minimal .NET 8 API
Create the project from the command line:
dotnet new webapi -n myApp --use-minimal-apis --framework net8.0
cd myApp
The project is generated with a ready-to-use Program.cs file and Swagger configured by default. All that remains is to add the required packages:
dotnet add package Aumerial.Data.Nti
dotnet add package Aumerial.Toolbox
dotnet add package Dapper
Then reference them in Program.cs:
using Aumerial.Data.Nti;
using Aumerial.Toolbox;
using Dapper;
Finally, define the connection string in Program.cs:
string connectionString = "server=Server;user=User;password=Pwd;";In this minimal example, dependency injection for the connection is intentionally left out.
Step 2 - CRUD operations on DB2 for i with NTi and Dapper
A REST API exposes resources through standard HTTP requests (GET, POST, PUT, DELETE). The four basic operations, known as CRUD, correspond to common data actions:
- CREATE: create a new resource →
POST - READ: read one or more resources →
GET - UPDATE: update an existing resource →
PUT - DELETE: delete an existing resource →
DELETE
For this example, an ACS script creates the GARAGEQ test database and the CARS table with an initial dataset:
-- Create the GARAGEQ SCHEMA
CREATE SCHEMA GARAGEQ;

-- Create the CARS table
CREATE TABLE GARAGEQ.CARS(ID INT GENERATED ALWAYS AS IDENTITY (START WITH 1 INCREMENT BY 1),
    BRAND VARCHAR(50),
    MODEL VARCHAR(50),
    YEAR INT,
    COLOR VARCHAR(30),
    PRIMARY KEY (ID)
);

-- Insert a dataset
INSERT INTO GARAGEQ.CARS (BRAND, MODEL, YEAR, COLOR) VALUES
    ('Peugeot', '308', 2021, 'Anthracite'),
    ('Volkswagen', 'Caddy', 2015, 'Bleu'),
    ('Skoda', 'Octavia Combi RS', 2017, 'Blanc'),
    ('Toyota', 'Yaris', 2022, 'Jaune');
On the C# side, a Car class maps exactly to the DB2 table fields:
namespace myApp
{
    public class Car
    {
        public int Id { get; set; }
        public string? Brand { get; set; }
        public string? Model { get; set; }
        public int Year { get; set; }
        public string? Color { get; set; }
    }
}
CRUD endpoints implementation
GET - retrieve all cars:
app.MapGet("/cars", () =>
{
    using var conn = new NTiConnection(connectionString);
    conn.Open();
    var cars = conn.Query<Car>("SELECT * FROM GARAGEQ.CARS").ToList();
    return Results.Ok(cars);
})
.WithName("GetAllCar")
.WithOpenApi();
POST - add a new car:
app.MapPost("/cars", (Car car) =>
{
    using var conn = new NTiConnection(connectionString);
    conn.Open();

    string addCarSql = "INSERT INTO GARAGEQ.CARS (BRAND, MODEL, YEAR, COLOR) VALUES (?, ?, ?, ?)";
    conn.Execute(addCarSql, new { car.Brand, car.Model, car.Year, car.Color });
    return Results.Created("/cars", car);
})
.WithName("AddNewCar")
.WithOpenApi();
PUT - update a car:
app.MapPut("/cars/{id}", (int id, Car car) =>
{
    using var conn = new NTiConnection(connectionString);
    conn.Open();

    string updateCar = "UPDATE GARAGEQ.CARS SET BRAND = ?, MODEL = ?, YEAR = ?, COLOR = ? WHERE ID = ?";
    conn.Execute(updateCar, new { car.Brand, car.Model, car.Year, car.Color, id });
})
.WithName("UpdateCarById")
.WithOpenApi();
DELETE - delete a car:
app.MapDelete("/cars/{id}", (int id) =>
{
    using var conn = new NTiConnection(connectionString);
    conn.Open();

    int carDeleted = conn.Execute("DELETE FROM GARAGEQ.CARS WHERE ID = ?", new { id });
    return carDeleted;
})
.WithName("DeleteCarById")
.WithOpenApi();
Each endpoint opens a dedicated connection with NTi. The SQL query is executed with Dapper via conn.Query<T>() for reads, or conn.Execute() for inserts, updates and deletes. Dapper automatically handles mapping between SQL results and the C# Car object.
No middleware, no controller.
Step 3 - Execute a CL command with system validation
NTi goes beyond database access: it also allows CL commands to be executed directly from a .NET API. The ExecuteClCommand() method lets you control IBM i by running any command, just as from a 5250 terminal.
Before any execution, CheckCLCommand() (available via the Toolbox extension) validates the command on the IBM i side to detect any syntax errors or missing parameters, without executing it:
app.MapPost("/execute/ClCommand", (string command) =>
{
    using var conn = new NTiConnection(connectionString);
    conn.Open();
    conn.CheckCLCommand(command);
    conn.ExecuteClCommand(command);
    return "Command executed successfully.";
})
.WithName("ExecuteClCommand")
.WithOpenApi();
Step 4 - Dynamically change the current library
On IBM i, the current library defines the context in which commands and programs are executed. NTi's ChangeDatabase() method allows it to be changed dynamically within the active session:
app.MapPost("/ChangeLibraryOnIbmi", (string libraryName) =>
{
    using var conn = new NTiConnection(connectionString);
    conn.Open();

    conn.ChangeDatabase(libraryName);
    return conn.Database;
})
.WithName("ChangeCurrentLibrary")
.WithOpenApi();
ChangeDatabase()only affects the current session, the NTi job session.
Step 5 - Call an RPG program to update a customer name
NTi allows an RPG program to be called directly from a .NET API, with typed parameter passing, just as from a green screen or a batch job. Existing business logic can thus be wrapped in a REST API, without rewriting the entire logic in C#.
The RPG program PGMCUST01, located in the NORTHWIND library, expects two parameters:
- A customer ID
id: 5-character alphanumeric - A new name
Name: 30-character alphanumeric
Here is how to expose this program call via a REST endpoint:
app.MapPost("/customer/{id}/name", (string id, Customer customer) =>
{
    using var conn = new NTiConnection(connectionString);
    conn.Open();

    var parameters = new List<NTiProgramParameter>
    {
        new NTiProgramParameter(id, 5),
        new NTiProgramParameter(customer.Name, 30)
    };
    conn.ExecuteClCommand("CHGCURLIB NORTHWIND");
    conn.CallProgram("NORTHWIND", "PGMCUST01", parameters);

    return Results.Ok($"Customer ID {id} name successfully updated: {customer.Name}.");
})
.WithName("CallRPGProgram")
.WithOpenApi();
Step 6 - Swagger and automatic documentation
Swagger is enabled by default in the webapi template generated by dotnet new webapi. It automatically generates interactive REST API documentation, accessible directly from a browser. This interface allows real-time endpoint testing, checking expected parameters, observing returned responses, and viewing the complete structure of objects such as Car or Customer.
Swagger also plays a key role for client-side API consumption: the generated documentation allows external tools or front-end developers to automatically generate code to consume the endpoints.
Conclusion
With .NET 8, Dapper and NTi Data Provider, a complete, lightweight and fully functional REST API can be built in just a few minutes, capable of interacting natively with an IBM i environment.
Every feature, from SQL query execution to RPG program calls and secure CL command execution, can be exposed in a straightforward, stable and interoperable way.
Every feature, from SQL query execution to RPG program calls and secure CL command execution, can be exposed in a straightforward, stable and interoperable way.
using Aumerial.Data.Nti;
using Dapper;
using Aumerial.Toolbox;

namespace myApp
{
    public class Program
    {
        public static void Main(string[] args)
        {
            var builder = WebApplication.CreateBuilder(args);

            builder.Services.AddAuthorization();
            builder.Services.AddEndpointsApiExplorer();
            builder.Services.AddSwaggerGen();

            var app = builder.Build();

           string connectionString = "server=Server;user=User;password=Pwd;";

            if (app.Environment.IsDevelopment())
            {
                app.UseSwagger();
                app.UseSwaggerUI();
            }

            app.UseHttpsRedirection();
            app.UseAuthorization();

            /// GET ALL
            app.MapGet("/cars", () =>
            {
                using var conn = new NTiConnection(connectionString);
                conn.Open();
                var cars = conn.Query<Car>("SELECT * FROM GARAGEQ.CARS").ToList();
                return cars;
            })
            .WithName("GetAllCar")
            .WithOpenApi();

            // GET BY ID
            app.MapGet("/cars/{id}", (int id) =>
            {
                using var conn = new NTiConnection(connectionString);
                conn.Open();
                var carById = conn.QuerySingleOrDefault<Car>("SELECT * FROM GARAGEQ.CARS WHERE ID = ?", new { id });
                return carById;
            })
            .WithName("GetCarById")
            .WithOpenApi();

            // POST
            app.MapPost("/cars", (Car car) =>
            {
                using var conn = new NTiConnection(connectionString);
                conn.Open();
                string addCarSql = "INSERT INTO GARAGEQ.CARS (BRAND, MODEL, YEAR, COLOR) VALUES (?, ?, ?, ?)";
                conn.Execute(addCarSql, new { car.Brand, car.Model, car.Year, car.Color });
                return Results.Created("/cars", car);
            })
            .WithName("AddNewCar")
            .WithOpenApi();

            // PUT
            app.MapPut("/cars/{id}", (int id, Car car) =>
            {
                using var conn = new NTiConnection(connectionString);
                conn.Open();
                string updateCar = "UPDATE GARAGEQ.CARS SET BRAND = ?, MODEL = ?, YEAR = ?, COLOR = ? WHERE ID = ?";
                conn.Execute(updateCar, new { car.Brand, car.Model, car.Year, car.Color, id });
            })
            .WithName("UpdateCarById")
            .WithOpenApi();

            // DELETE
            app.MapDelete("/cars/{id}", (int id) =>
            {
                using var conn = new NTiConnection(connectionString);
                conn.Open();
                int carDeleted = conn.Execute("DELETE FROM GARAGEQ.CARS WHERE ID = ?", new { id });
                return carDeleted;
            })
            .WithName("DeleteCarById")
            .WithOpenApi();

            // EXECUTE CL COMMAND
            app.MapPost("/execute/ClCommand", (string command) =>
            {
                using var conn = new NTiConnection(connectionString);
                conn.Open();
                conn.CheckCLCommand(command);
                conn.ExecuteClCommand(command);
                return "Command executed successfully.";
            })
            .WithName("ExecuteClCommand")
            .WithOpenApi();

            // CHANGE CURRENT LIBRARY
            app.MapPost("/ChangeLibraryOnIbmi", (string libraryName) =>
            {
                using var conn = new NTiConnection(connectionString);
                conn.Open();
                conn.ChangeDatabase(libraryName);
                return conn.Database;
            })
            .WithName("ChangeCurrentLibrary")
            .WithOpenApi();

            // CALL AN EXISTING RPG PGM
           app.MapPost("/customer/{id}/name", (string id, Customer customer) =>
            {
                using var conn = new NTiConnection(connectionString);
                conn.Open();

                var parameters = new List<NTiProgramParameter>
                {
                    new NTiProgramParameter(id, 5),
                    new NTiProgramParameter(customer.Name, 30)
                };
                conn.ExecuteClCommand("CHGCURLIB NORTHWIND");
                conn.CallProgram("NORTHWIND", "PGMCUST01", parameters);
                return Results.Ok($"Customer ID {id} name successfully updated: {customer.Name}.");
            })
            .WithName("CallRPGProgram")
            .WithOpenApi();

            app.Run();
        }
    }
}
Quentin Destrade