Deploying applications efficiently, quickly and reproducibly across heterogeneous environments can seem complex. In this article, we will deploy in Docker containers a .NET API introduced in a previous article, paired with an Angular application.
The .NET API, through NTi Data Provider, exposes data from DB2 for i. The Angular application consumes it to deliver the user interface.
Prerequisites and development environment
- IDE: the .NET API is developed with Visual Studio, which includes native Docker container support. The Angular application is developed in Visual Studio Code.
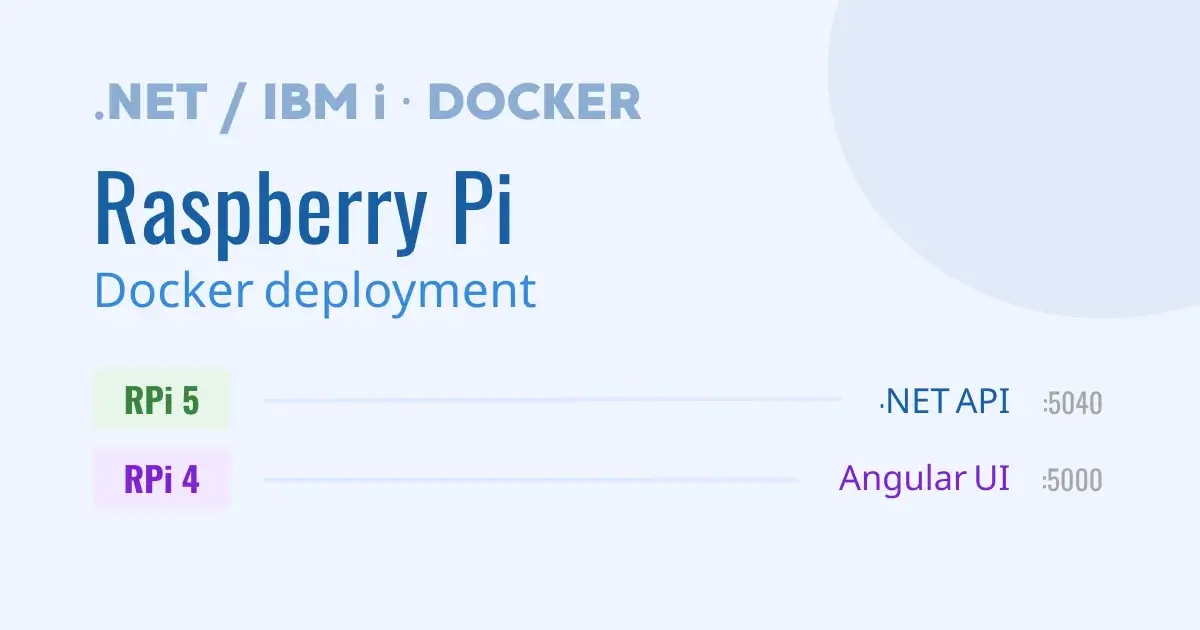
- Target environment: the applications are intended to be deployed on Raspberry Pi 4 and 5, ARM-based single-board computers connected to an IBM i.
- Docker: Docker Desktop installed on the development machine allows containerizing the applications, making deployment straightforward across different hardware architectures, including Raspberry Pi
Part 1 - .NET API deployment
Step 1 - Create the Dockerfile with Visual Studio
The first step is to create a Dockerfile for the .NET API.
Visual Studio streamlines this process through its native Docker integration:
Right-click on the project > Add > Docker Support
Visual Studio generates a multi-stage Dockerfile tailored to the .NET application:
FROM mcr.microsoft.com/dotnet/aspnet:8.0 AS base
USER app
WORKDIR /app
EXPOSE 8080
EXPOSE 8081


FROM mcr.microsoft.com/dotnet/sdk:8.0 AS build
ARG BUILD_CONFIGURATION=Release
WORKDIR /src
COPY ["AccessDataAPI.csproj", "."]
RUN dotnet restore "./././AccessDataAPI.csproj"
COPY . .
WORKDIR "/src/."
RUN dotnet build "./AccessDataAPI.csproj" -c $BUILD_CONFIGURATION -o /app/build

FROM build AS publish
ARG BUILD_CONFIGURATION=Release
RUN dotnet publish "./AccessDataAPI.csproj" -c $BUILD_CONFIGURATION -o /app/publish /p:UseAppHost=false

FROM base AS final
WORKDIR /app
COPY --from=publish /app/publish .
ENTRYPOINT ["dotnet", "AccessDataAPI.dll"]- Base: official ASP.NET image with ports 8080 (HTTP) and 8081 (HTTPS) exposed.
- Build: compilation of the application using the .NET SDK.
- Publish: publication of the compiled application, ready for deployment.
- Final: final runtime image containing only the published files.
Step 2 - Add CORS (Cross Origin Resource Sharing)
To allow the API to accept requests from the Angular application hosted on a separate server, CORS is configured in program.cs.
using AccessDataAPI.Services;
using Microsoft.AspNetCore.Server.Kestrel.Core;
using Microsoft.AspNetCore.Server.Kestrel.Https;

var builder = WebApplication.CreateBuilder(args);

// Add the CORS configuration to authorise requests from the Angular HotelAppManager application.

builder.Services.AddCors(options =>
{
    options.AddPolicy("MyCorsPolicy", policy =>
    {
        policy.AllowAnyOrigin()
              .AllowAnyHeader()
              .AllowAnyMethod();
    });
});
Step 3 - Configure LaunchSettings.json
This file defines the application launch profiles: local development over HTTP or HTTPS, and Docker.
{
  "profiles": {
    "http": {
      "commandName": "Project",
      "launchBrowser": true,
      "launchUrl": "swagger",
      "environmentVariables": {
        "ASPNETCORE_ENVIRONMENT": "Development"
      },
      "dotnetRunMessages": true,
      "applicationUrl": "http://localhost:7245"
    },
    "https": {
      "commandName": "Project",
      "launchBrowser": true,
      "launchUrl": "swagger",
      "environmentVariables": {
        "ASPNETCORE_ENVIRONMENT": "Development"
      },
      "dotnetRunMessages": true,
      "applicationUrl": "https://localhost:7246;http://localhost:7245"
    },
    "IIS Express": {
      "commandName": "IISExpress",
      "launchBrowser": true,
      "launchUrl": "swagger",
      "environmentVariables": {
        "ASPNETCORE_ENVIRONMENT": "Development"
      }
    },
    "Docker": {
      "commandName": "Docker",
      "launchBrowser": true,
      "launchUrl": "{Scheme}://{ServiceHost}:{ServicePort}/swagger",
      "environmentVariables": {
        "ASPNETCORE_HTTPS_PORTS": "8081",
        "ASPNETCORE_HTTP_PORTS": "8080"
      },
      "publishAllPorts": true,
      "useSSL": true
    }
  },
  "$schema": "http://json.schemastore.org/launchsettings.json",
  "iisSettings": {
    "windowsAuthentication": false,
    "anonymousAuthentication": true,
    "iisExpress": {
      "applicationUrl": "http://localhost:24909",
      "sslPort": 44315
    }
  }
}- HTTP & HTTPS profiles: launch the application locally on ports 7245 and 7246.
- Docker profile: tells Visual Studio how to launch the application in Docker, with the port mapping and environment variables matching the ports exposed in the Dockerfile.
Step 4 - Build the Docker image
Once the Dockerfile, launchSettings and CORS are configured, Docker Buildx is used to create a multi-architecture image, essential for deployment on Raspberry Pi:
docker buildx build --platform linux/arm64/v8,linux/amd64 -t quentindaumerial/accessdataapi:latest --push -f Dockerfile .The image is pushed directly to Docker Hub.

To validate that everything works before deployment, the image is run locally with docker run:
docker run --rm -it -p 7245:8080 -p 7246:8081 \
  -e ASPNETCORE_HTTPS_PORTS=8081 \
  -e ASPNETCORE_HTTP_PORTS=8080 \
  -e ASPNETCORE_Kestrel__Certificates__Default__Password="password" \
  -e ASPNETCORE_Kestrel__Certificates__Default__Path=/https/aspnetapp.pfx \
  -v %USERPROFILE%\.aspnet\https:/https/ accessdataapi
Navigating to https://localhost:7246/HotelCustomer/clients confirms that the data exposed from DB2 for i is accessible.

Step 5 - Push the image to Raspberry Pi 5
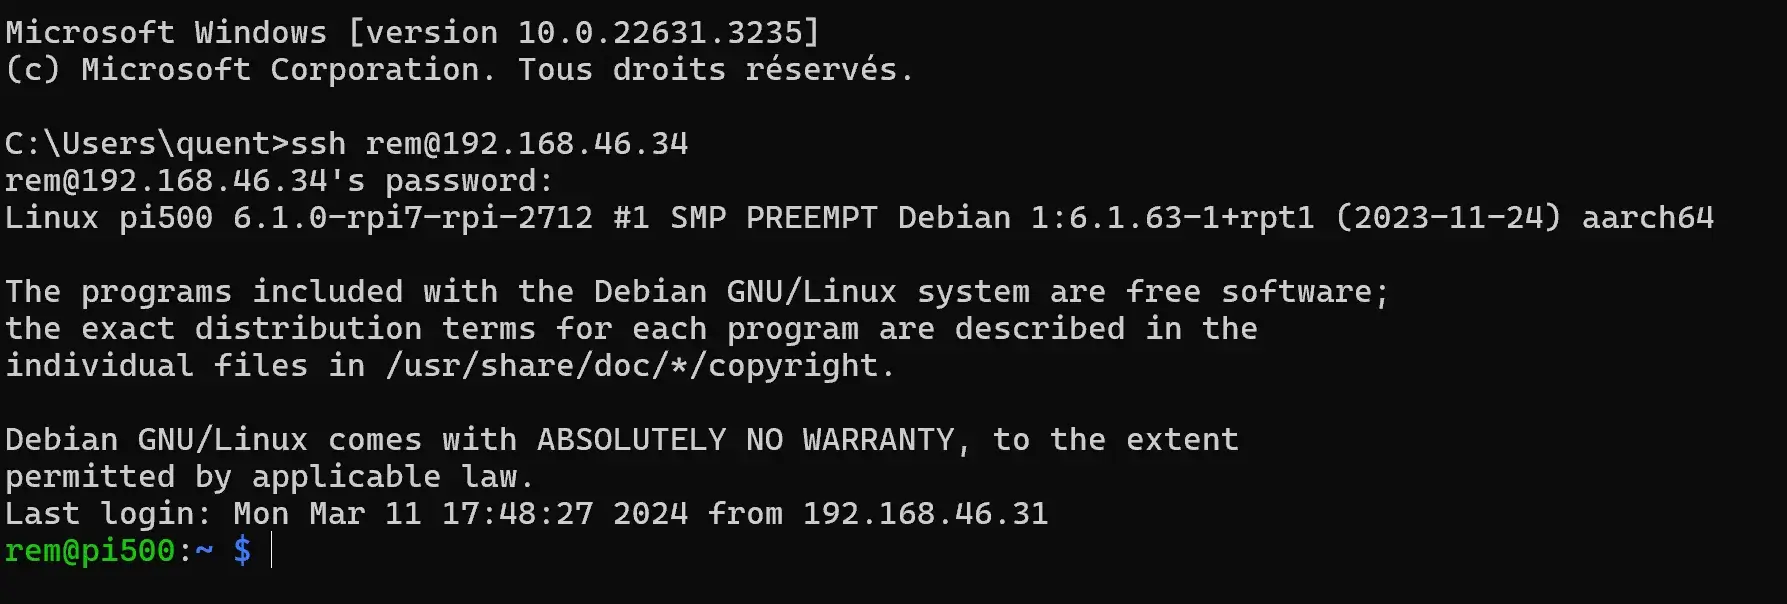
After pushing the image to Docker Hub, connect to the Raspberry Pi via SSH and pull the image:
docker image pull quentindaumerial/accessdataapi:latestStep 6 - Launch the container on Raspberry Pi 5
Launch the container by mapping port 8080 of the container to port 5040 of the Raspberry Pi:
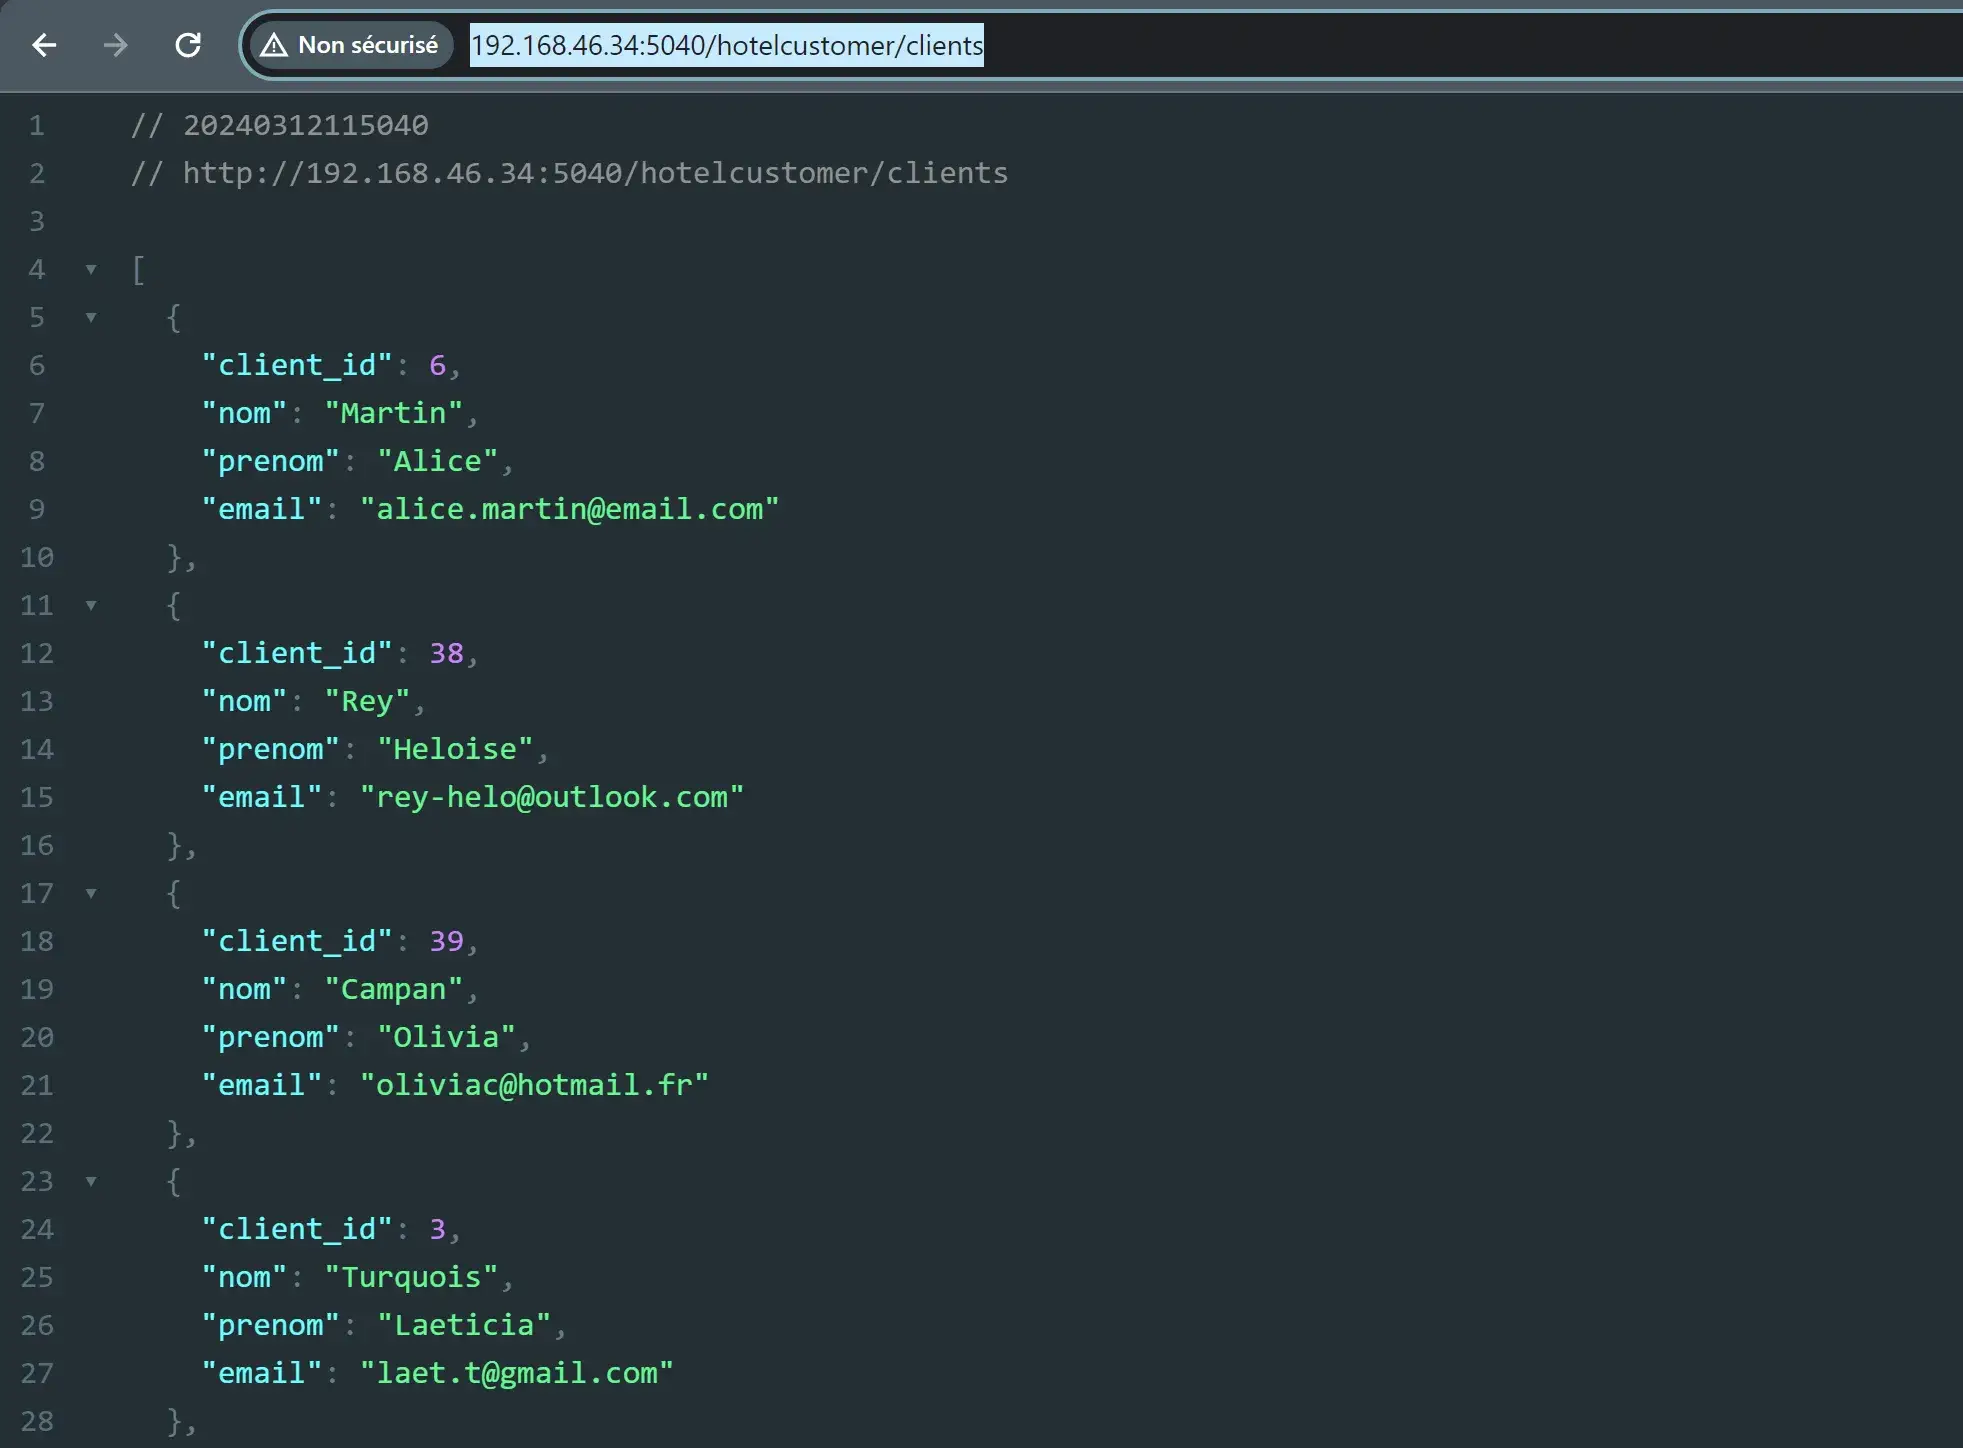
docker run -it -p 5040:8080 quentindaumerial/accessdataapi:latestThe API is available at http://192.168.46.34:5040/hotelcustomer/clients.
Part 2 - Angular application deployment
Step 1 - Prepare the Dockerfile
The Angular Dockerfile consists of two stages: build and serve.
### STAGE 1:BUILD ###

FROM node:latest AS build

WORKDIR /app

COPY package.json ./

RUN npm install

RUN npm build --configuration=production

### STAGE 2:RUN ###

FROM nginx:latest
COPY dist/app-data-manager /usr/share/nginx/html

COPY nginx.conf /etc/nginx/nginx.conf

EXPOSE 80- Build: uses the
nodeimage to install dependencies and compile the application in production mode. - Run: uses
nginxto serve the compiled files from/usr/share/nginx/html.
Step 2 - Create the nginx.conf file
This file configures NGINX to serve the Angular application and handle client-side routing:
events{}

http {
    include /etc/nginx/mime.types;
    server {
        root /usr/share/nginx/html/browser;
        index /index.html;
        location / {
            try_files $uri $uri/ /index.html;
        }
    }
}
The try_files directive tells NGINX to serve index.html for all client-side routes, which is required for Angular routing.
Step 3 - Configure environments
Angular natively handles development and production configurations, making it straightforward to point to the right API URL depending on the context.
- Development
src/environments/environment.ts
export const environment = {
    production: false,
    apiBaseUrl: 'https://localhost:7246/'
};- Production
src/environments/environment.prod.ts
export const environment = {
production: true,
apiBaseUrl: 'http://192.168.46.34:5040/'
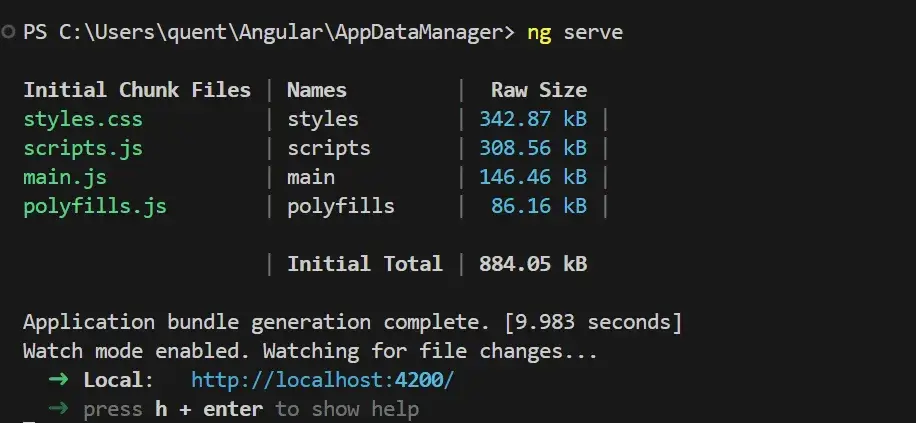
};The ng serve command automatically uses the development configuration on localhost:4200.
Step 4 - Build the Docker image
As with the API, Docker Buildx is used for a multi-architecture image:
docker buildx build --platform linux/amd64,linux/arm64,linux/arm64/v8 -t quentindaumerial/appdatamanager:latest --push --no-cache .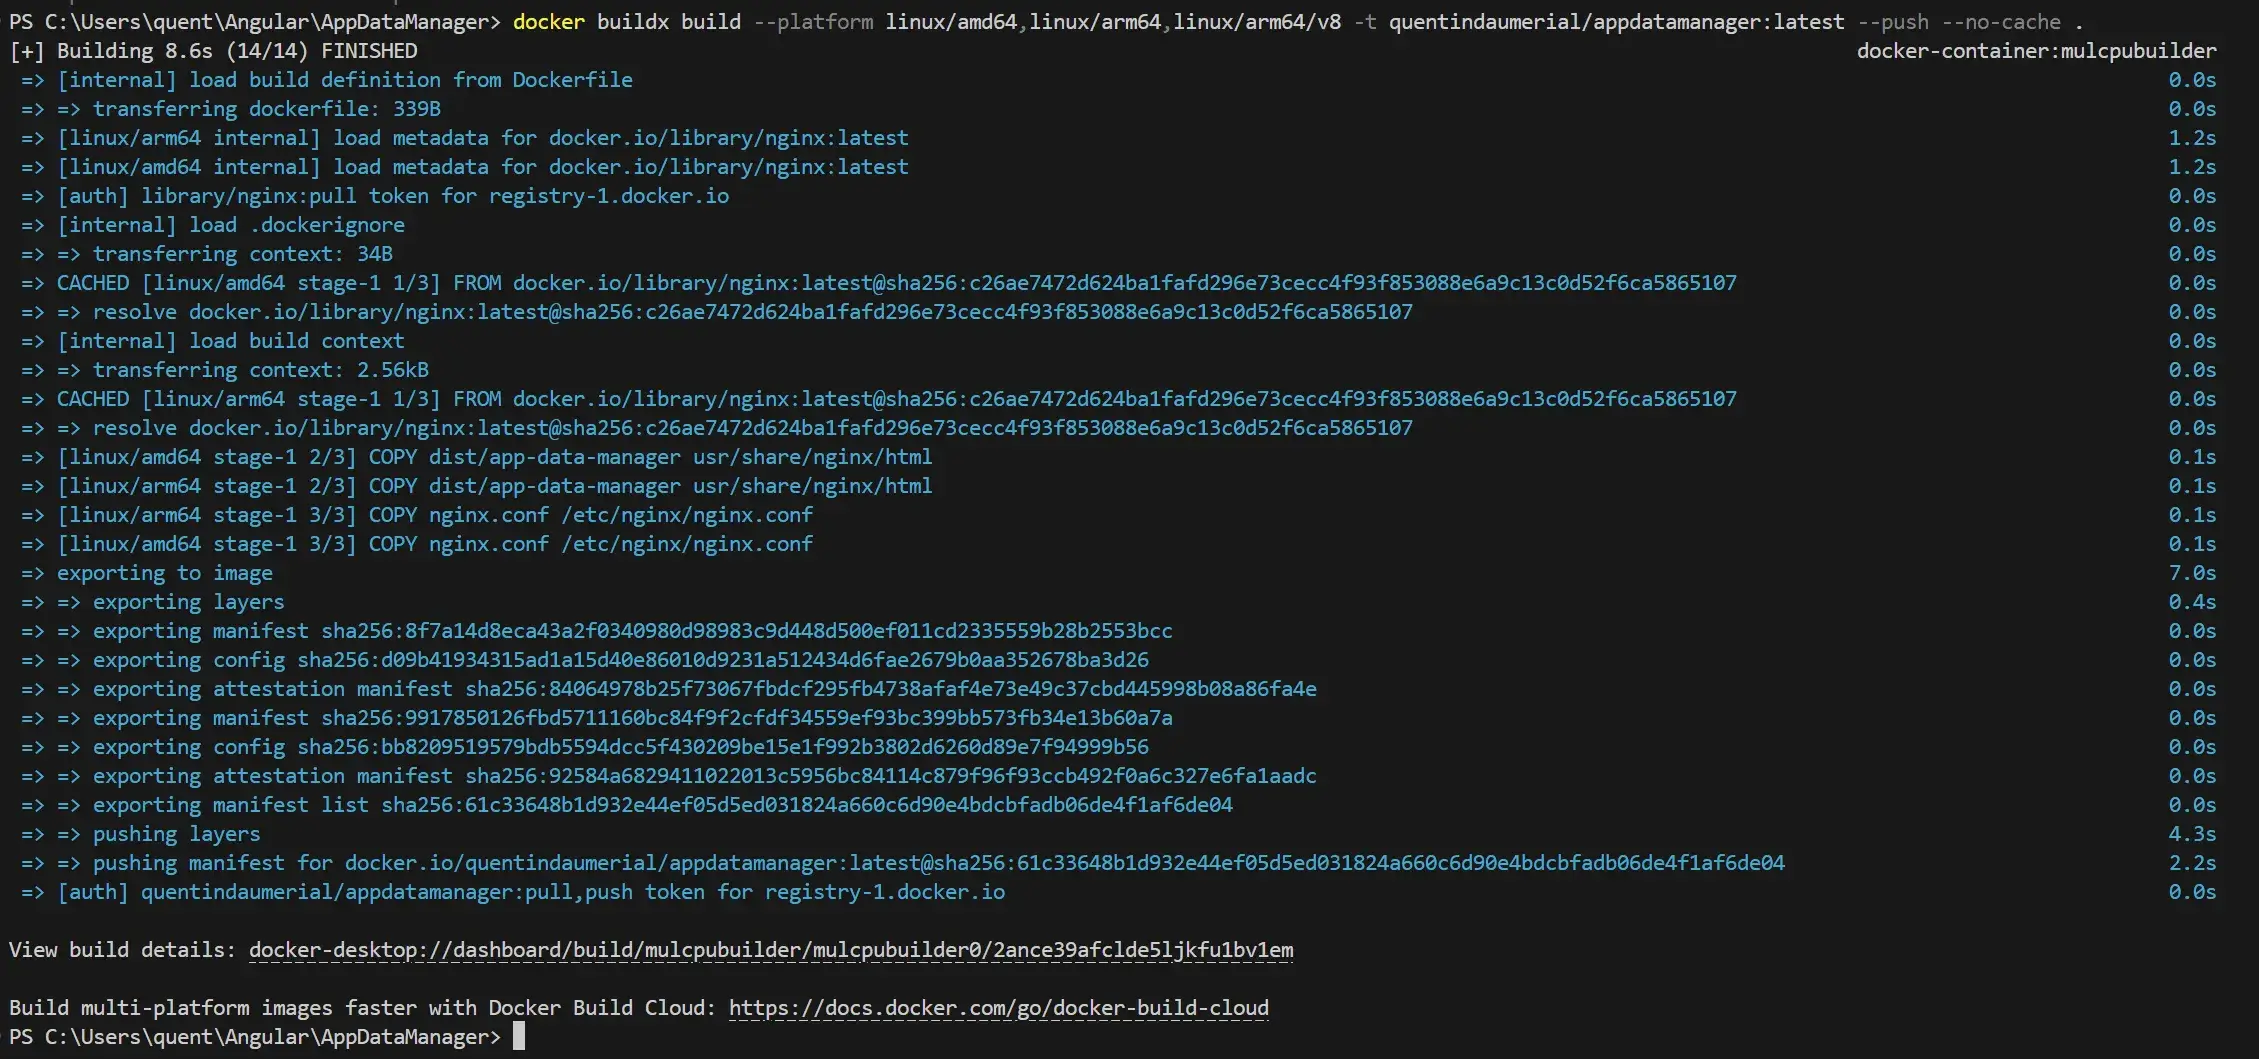

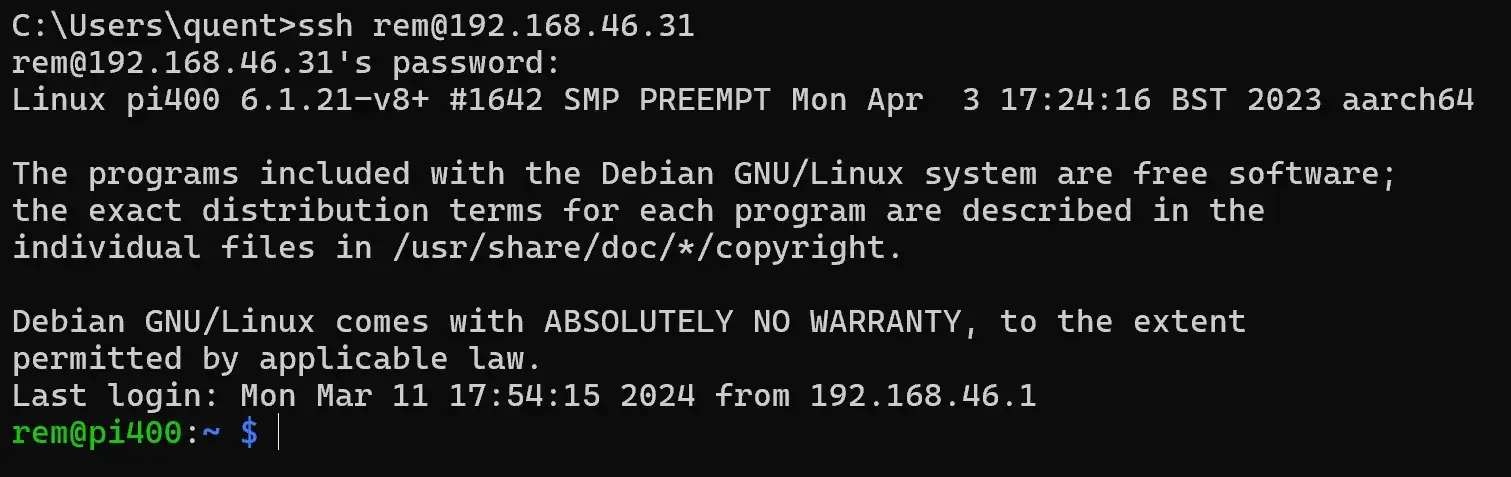
Step 5 - Deploy to Raspberry Pi 4
SSH connection to Raspberry Pi 4:
Pull the image from Docker Hub:
docker image pull quentindaumerial/appdatamanager:latest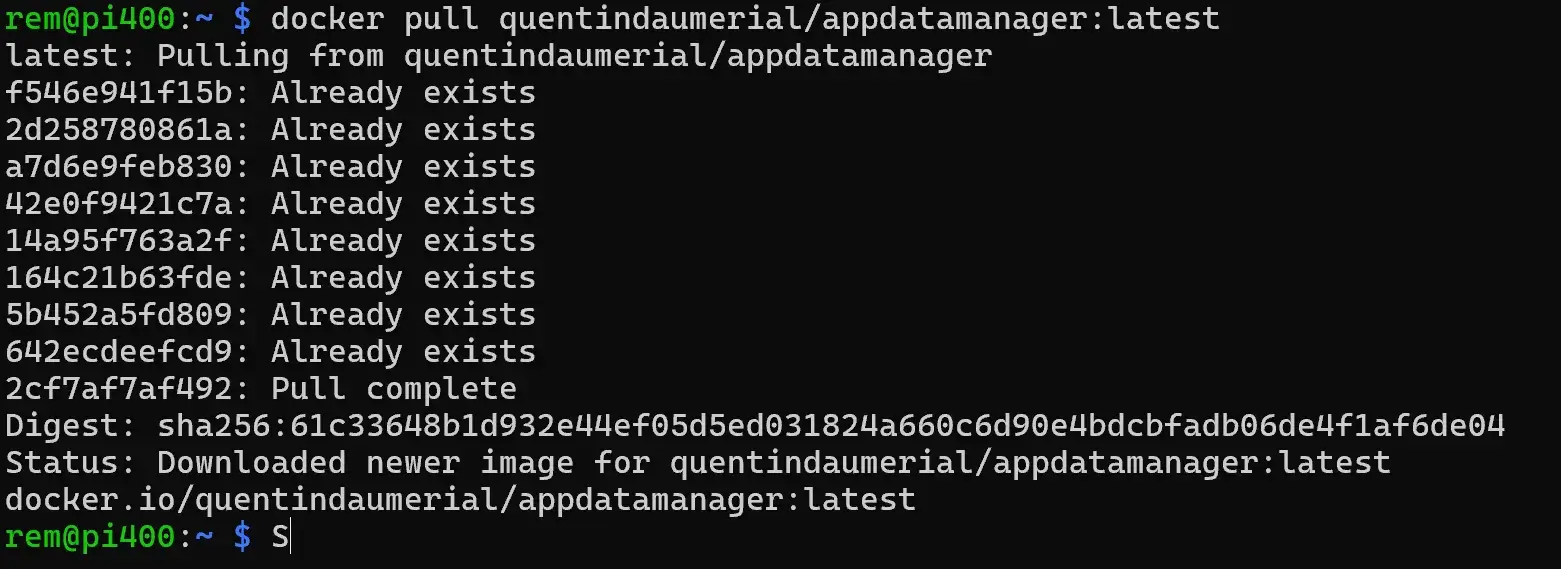
Step 6 - Launch the container on Raspberry Pi 4
Map port 80 of the container to port 5000 of the Raspberry Pi:
docker run -it --platform linux/arm64/v8 -p 5000:80 quentindaumerial/appdatamanager:latest
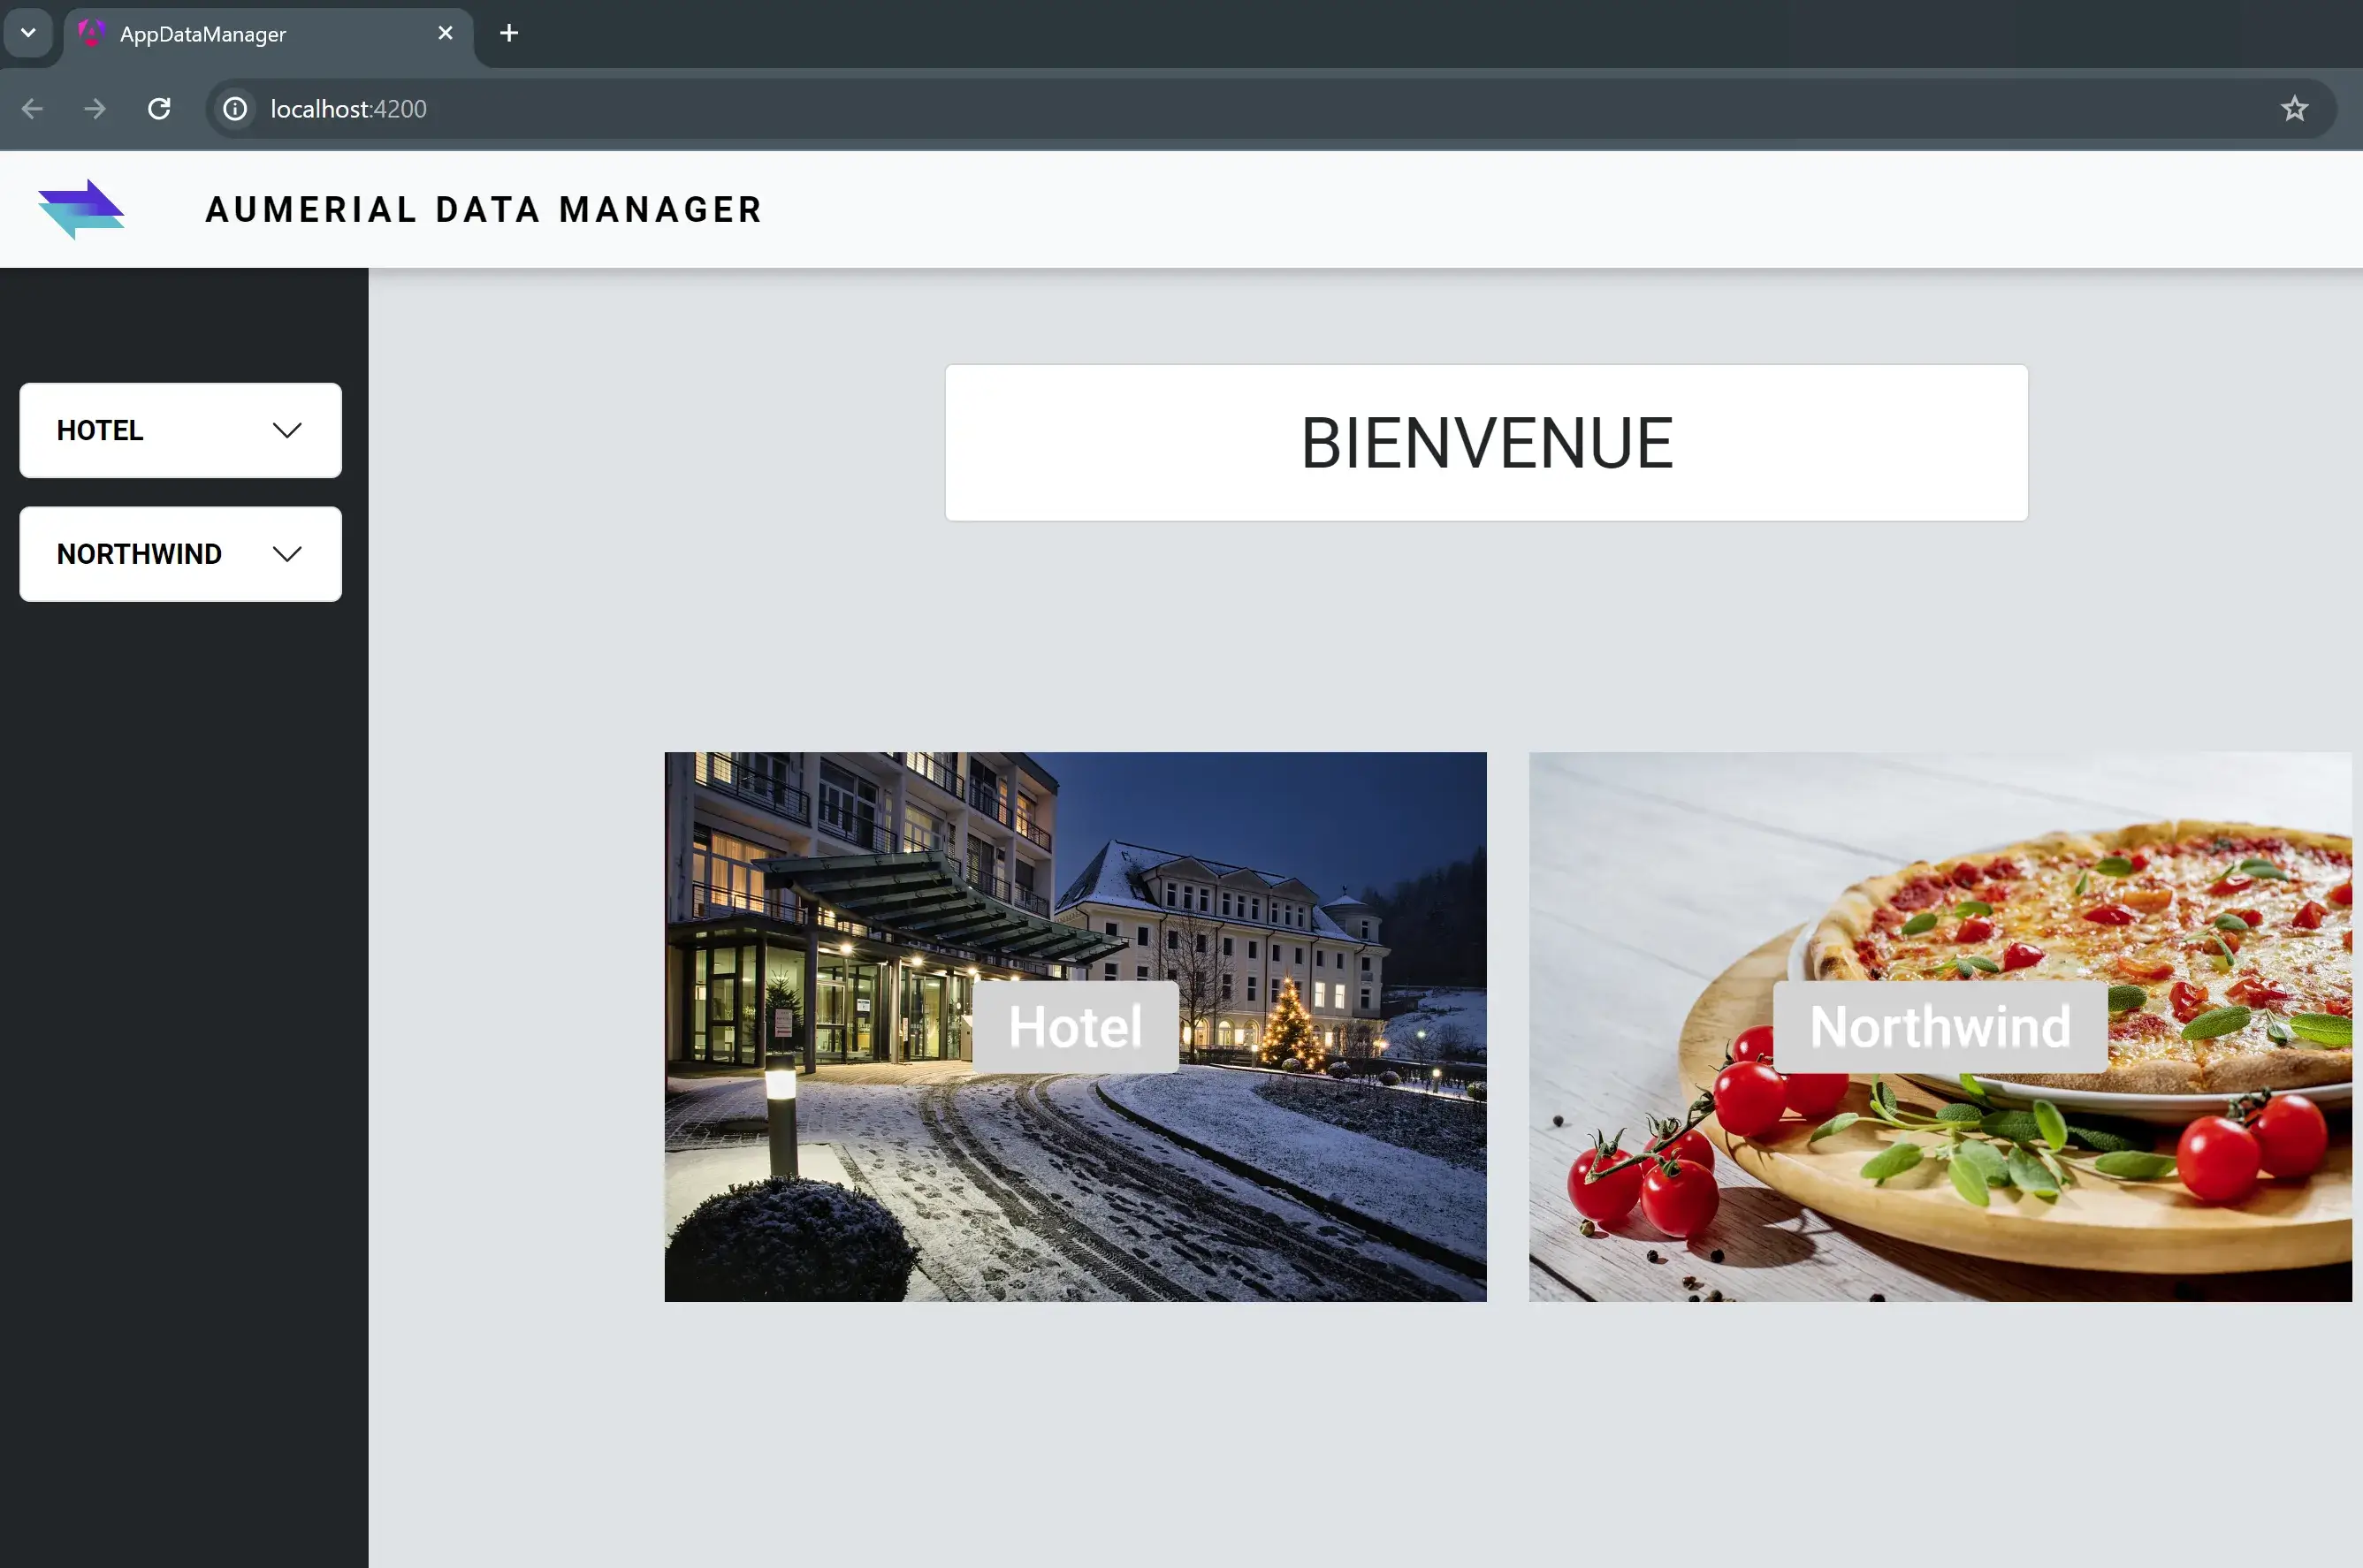
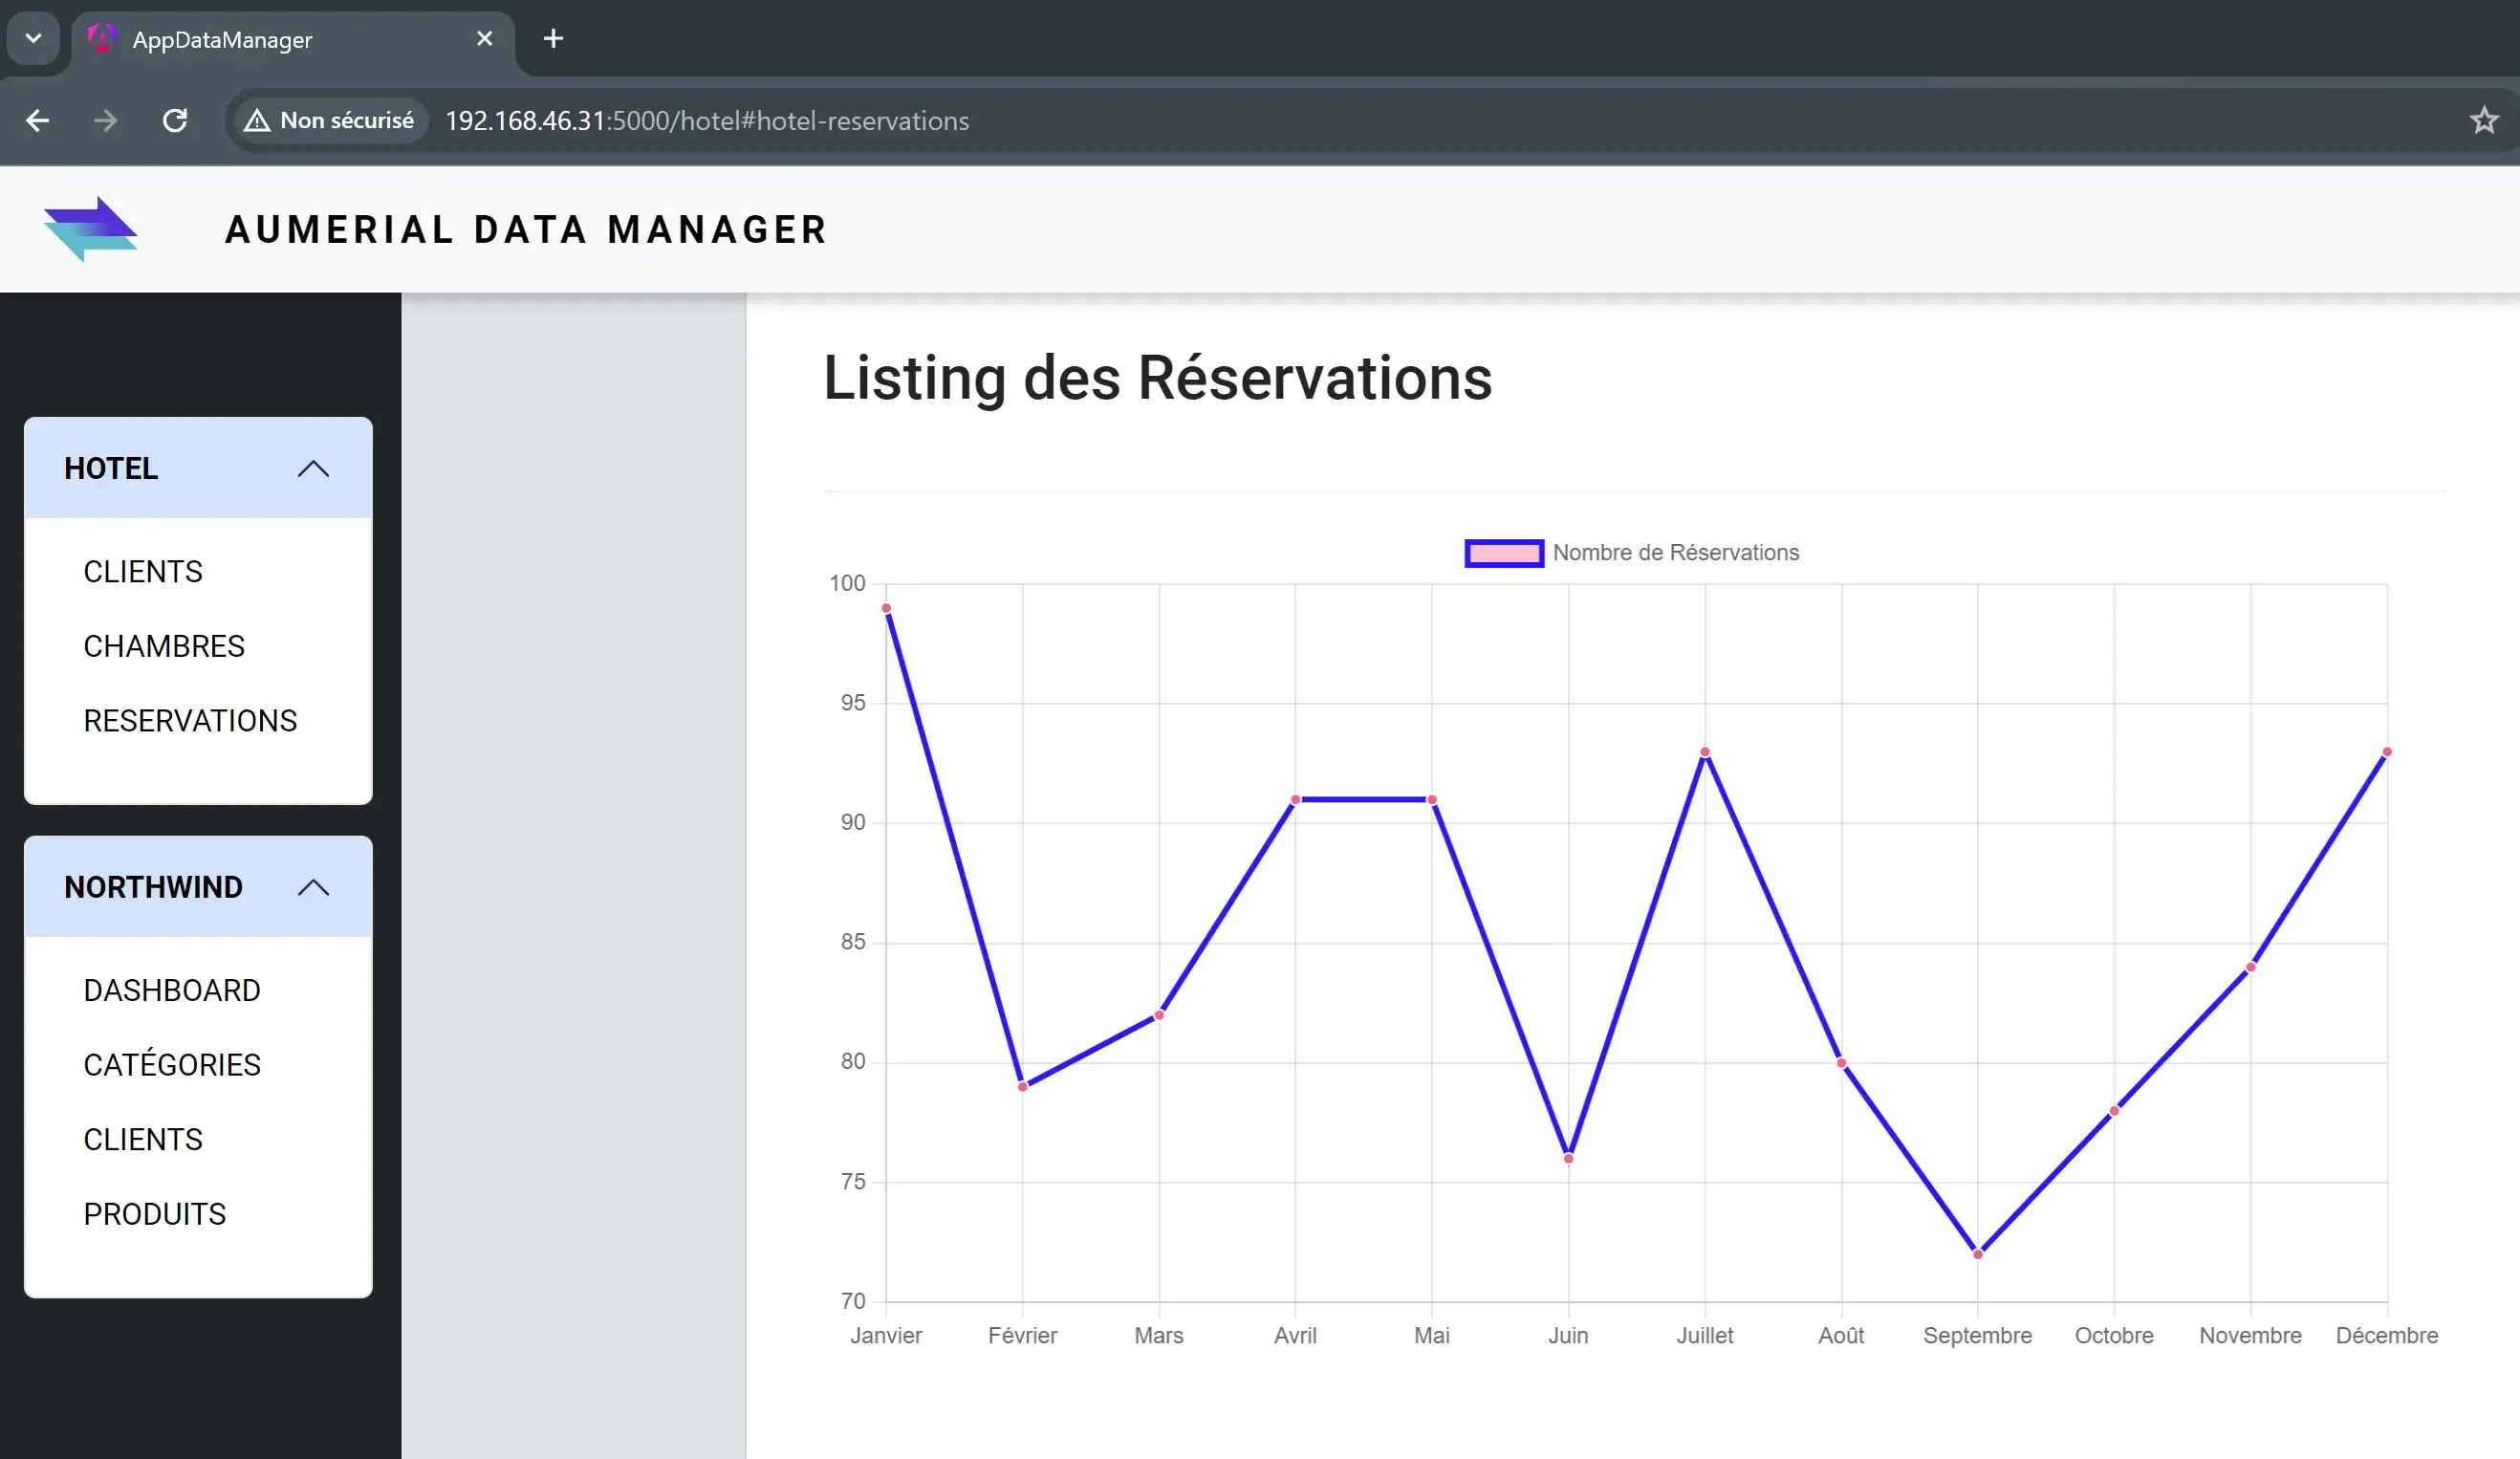
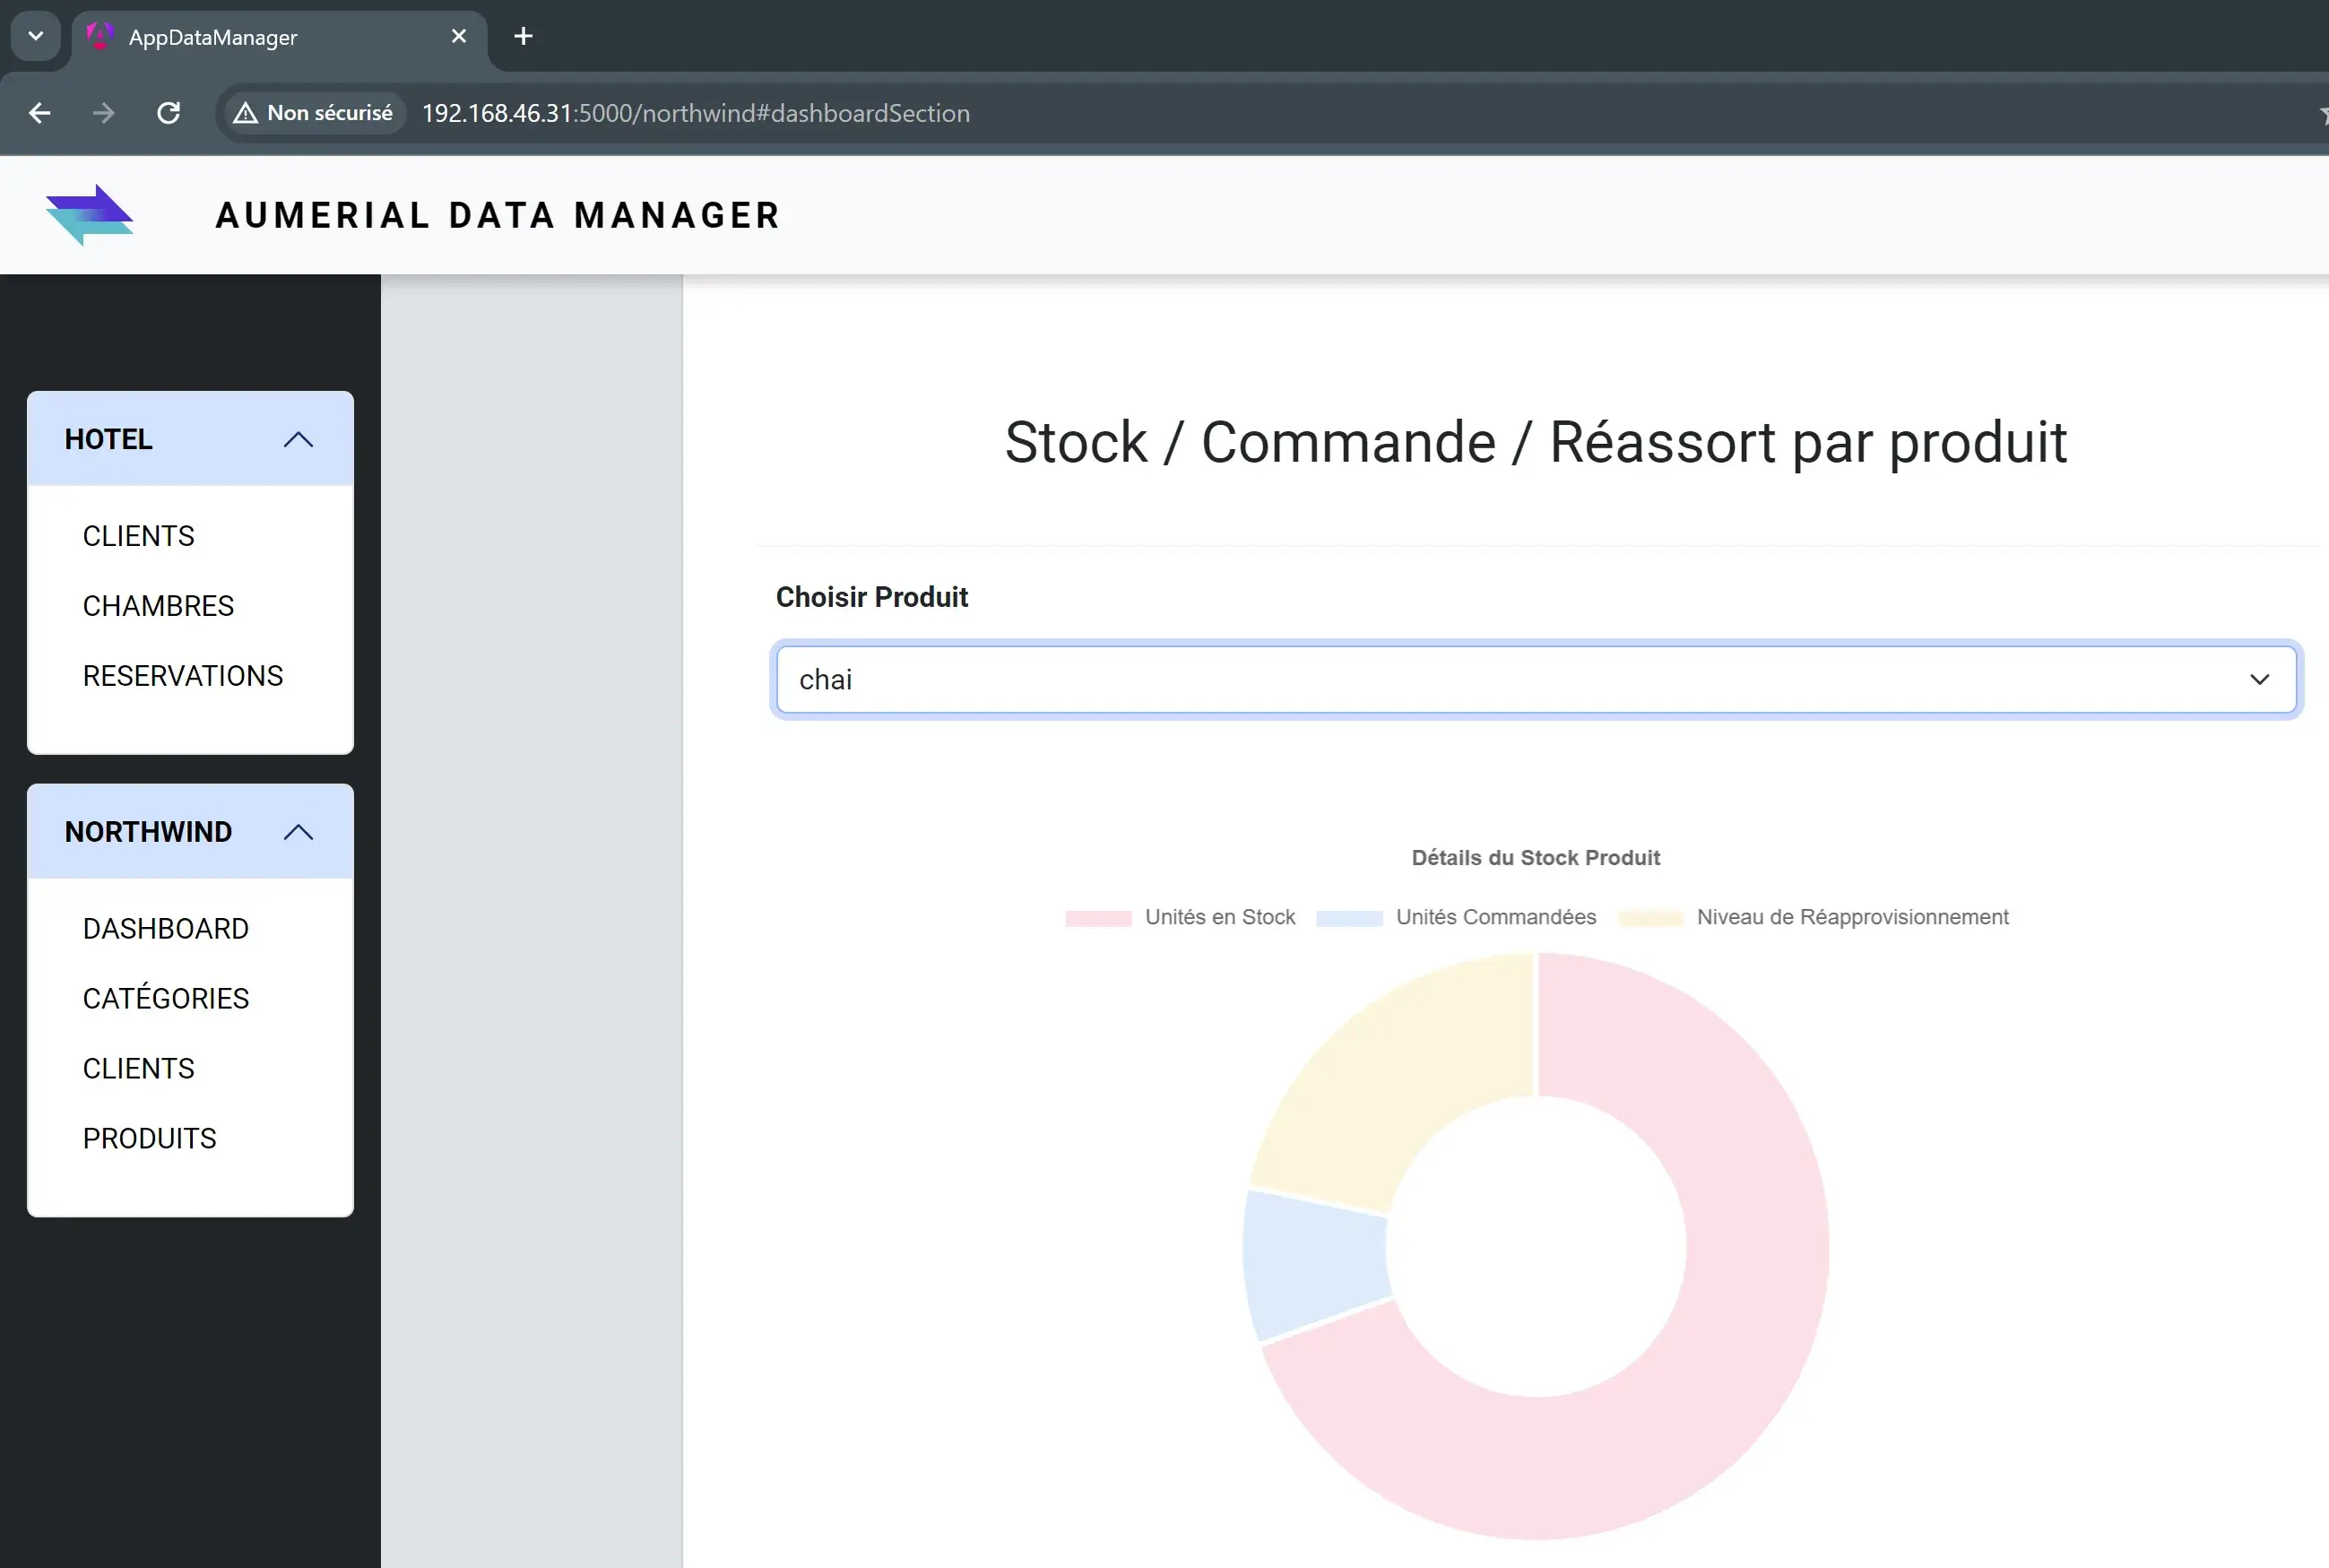
The application is available at http://192.168.46.31:5000 and data is flowing through from the API, which consumes DB2 for i via NTi:
Conclusion
With tailored Dockerfiles, NGINX configuration for Angular, and fine-tuned CORS settings and launch profiles for the .NET API, both applications run in isolation and communicate seamlessly in a containerized environment.
NTi Data Provider plays a central role here: it allows a .NET Core API to communicate natively with DB2 for i, even from a Docker container running on a Raspberry Pi. Ultimately, regardless of which machine the application runs on, what matters is that the data reaches the right place, reliably.
Quentin Destrade