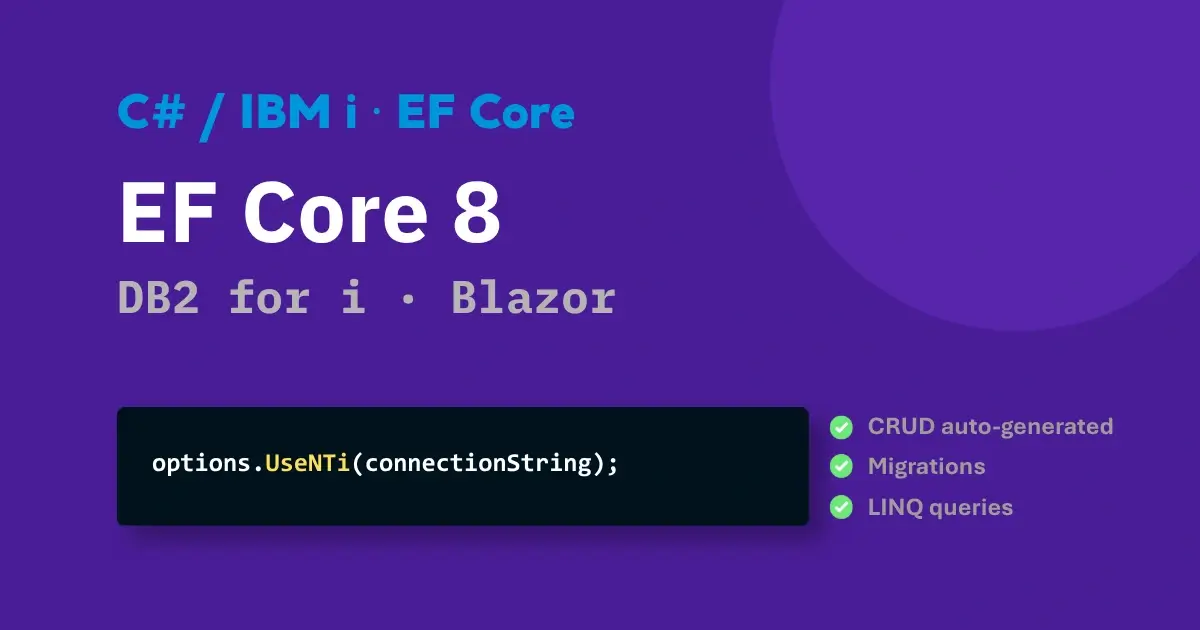
Entity Framework Core is the reference ORM in the .NET ecosystem. It allows a database to be manipulated directly from C# objects, without writing SQL manually: queries, migrations and mapping are all handled automatically.
With the Entity Framework Core for IBM i extension with NTi, this approach now applies natively to DB2 for i. Compatible with .NET 8, .NET 9 and .NET 10, .NET developers can work with an IBM i database exactly as with any other database supported by EF Core, using the same tooling, the same conventions and the same commands. The project presented in this tutorial uses .NET 8.
Step 1 - Create and configure the project
Create the project from the command line:
dotnet new blazorserver -n myApp --framework net8.0
cd myApp
Add the required packages:
dotnet add package Aumerial.Data.NTi
dotnet add package Aumerial.EntityFrameworkCore
dotnet add package Microsoft.EntityFrameworkCore.Design
Add the connection string to appsettings.json, specifying the default schema in which all created entities will be placed:
{
    "ConnectionStrings": {
        "DefaultConnection": "server=Server;user=User;password=Pwd;database=Db"
    }
}
Step 2 - Define the entities
Create a Models folder and add the following classes.
Category.cs
A category can contain multiple products:
public class Category
{
    public int Id { get; set; }
    public string Name { get; set; }
    public ICollection<Product> Products { get; set; }
}
Product.cs
A product belongs to a category and can be linked to multiple orders:
public class Product
{
    public int Id { get; set; }
    public string Name { get; set; }
    public string Description { get; set; }
    public decimal Price { get; set; }
    public int StockQuantity { get; set; }
    public decimal Weight { get; set; }
    public bool IsAvailable { get; set; }
    public int CategoryId { get; set; }
    public Category Category { get; set; }
    public ICollection<Order> Orders { get; set; } = new List<Order>();
}
Order.cs
An order can contain multiple products:
public class Order
{
    public int Id { get; set; }
    public DateTime OrderDate { get; set; }
    public DateTime? DeliveryDate { get; set; }
    public decimal TotalAmount { get; set; }
    public ICollection<Product> Products { get; set; }
}
Step 3 - Configure the DbContext
Add an AppDbContext class inheriting from DbContext to manage the entities and their relationships:
using Microsoft.EntityFrameworkCore;

public class AppDbContext : DbContext
{
    public AppDbContext(DbContextOptions<AppDbContext> options) : base(options) { }

    public DbSet<Product> Products { get; set; }
    public DbSet<Category> Categories { get; set; }
    public DbSet<Order> Orders { get; set; }

     protected override void OnModelCreating(ModelBuilder modelBuilder)
    {

    }
}
Step 4 - Configure Program.cs
Register the DbContext in Program.cs as a service via dependency injection for your Blazor components:
var connectionString = builder.Configuration.GetConnectionString("DefaultConnection");
builder.Services.AddDbContext<AppDbContext>(options =>
    options.UseNTi(connectionString));
💡
AddDbContextis recommended for most Blazor Server applications. TheDbContextis instantiated with a Scoped lifetime, recreated on each user request. UseAddDbContextFactoryfor background tasks or multi-threaded processing.
Step 5 - Create and manage migrations
Generate an initial migration to create the tables in the database. This command creates a file in the Migrations folder containing the SQL instructions to create your tables:
dotnet ef migrations add InitialCreateThen apply the migration:
dotnet ef database update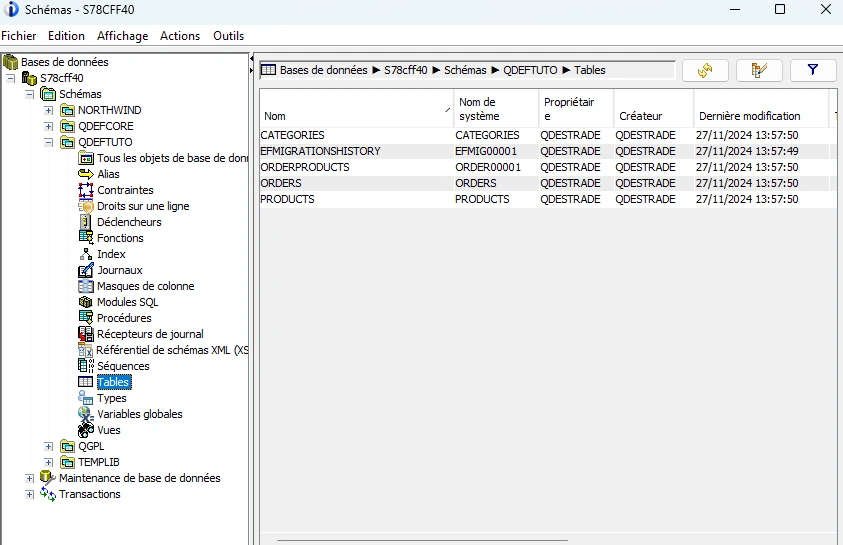
To add or modify a table, create or update the relevant entity, add it to AppDbContext if needed, then generate a new migration:
dotnet ef migrations add MyNewMigration
dotnet ef database update
To remove the last migration before it is applied:
dotnet ef migrations removeTo roll back to a previous database version:
dotnet ef database update MigrationNameReplace
MigrationNamewith the name of the migration you want to apply or revert to.
Step 6 - Add initial seed data
Add seed data in Program.cs after the service registration:
using (var scope = app.Services.CreateScope())
{
var context = scope.ServiceProvider.GetRequiredService<AppDbContext>();
var categories = new List<Category>
{
new Category { Name = "Electronics" },
new Category { Name = "Books" },
new Category { Name = "Home Appliances" },
new Category { Name = "Fashion" },
new Category { Name = "Toys" }
};
context.Categories.AddRange(categories);
var products = new List<Product>
{
new Product { Name = "Smartphone", Price = 500, StockQuantity = 10, Category = categories[0], IsAvailable = true },
new Product { Name = "Laptop", Price = 1200, StockQuantity = 5, Category = categories[0], IsAvailable = true },
new Product { Name = "Washing Machine", Price = 300, StockQuantity = 8, Category = categories[2], IsAvailable = true },
new Product { Name = "T-Shirt", Price = 20, StockQuantity = 50, Category = categories[3], IsAvailable = true },
new Product { Name = "Children's Book", Price = 15, StockQuantity = 100, Category = categories[1], IsAvailable = true },
new Product { Name = "Toy Car", Price = 30, StockQuantity = 20, Category = categories[4], IsAvailable = true },
new Product { Name = "Microwave Oven", Price = 250, StockQuantity = 6, Category = categories[2], IsAvailable = true },
new Product { Name = "Jeans", Price = 40, StockQuantity = 30, Category = categories[3], IsAvailable = true }
};
context.Products.AddRange(products);
var orders = new List<Order>
{
new Order
{
OrderDate = DateTime.Now.AddDays(-10),
DeliveryDate = DateTime.Now.AddDays(-7),
TotalAmount = 750,
Products = new List<Product> { products[0], products[1], products[3] }
},
new Order
{
OrderDate = DateTime.Now.AddDays(-5),
DeliveryDate = DateTime.Now.AddDays(-3),
TotalAmount = 600,
Products = new List<Product> { products[4], products[5], products[6] }
},
new Order
{
OrderDate = DateTime.Now.AddDays(-2),
DeliveryDate = null,
TotalAmount = 290,
Products = new List<Product> { products[2], products[7] }
}
};
context.Orders.AddRange(orders);
context.SaveChanges();
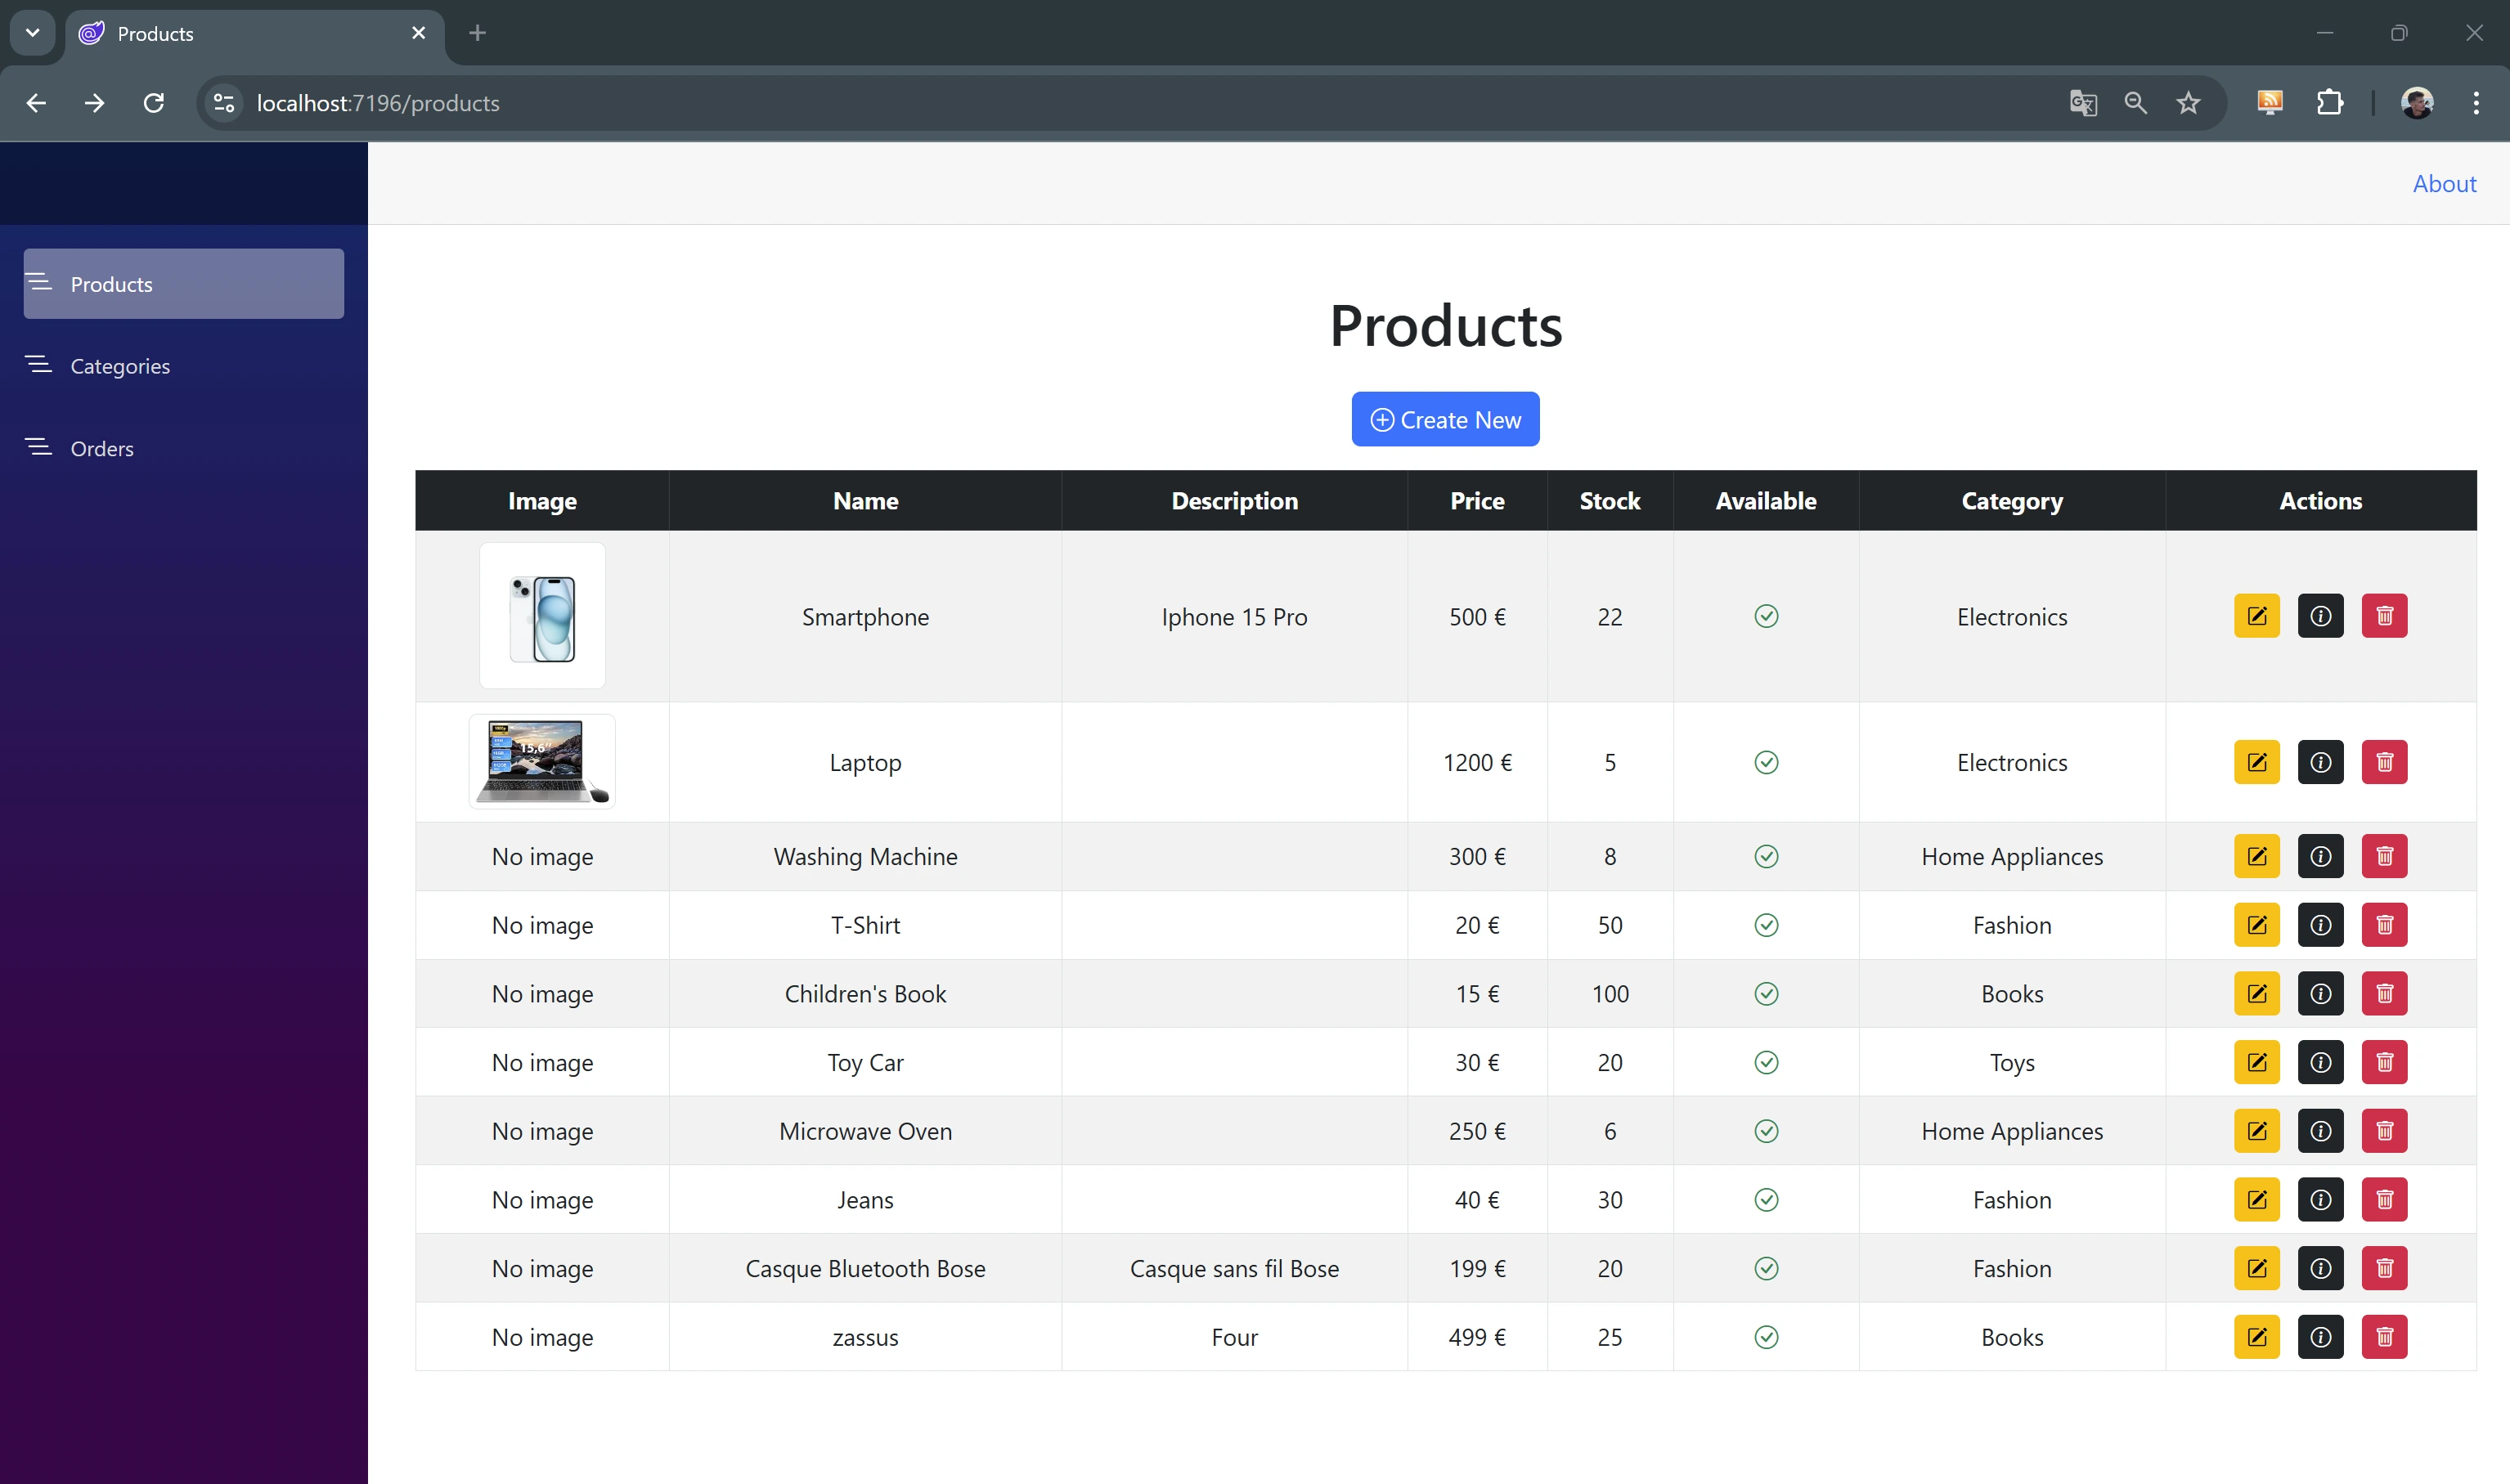
}Step 7 - Generate the CRUD pages
Visual Studio can automatically generate Razor CRUD components for each of your entities in just a few clicks.
- Right-click on the Pages folder in your Blazor Server project
- Select Add > New Scaffolded Item > Razor Components using Entity Framework (CRUD)
- Configure the options:
- Model Class: select the desired entity (e.g.
Product) - DbContext Class: select
AppDbContext
- Model Class: select the desired entity (e.g.
Visual Studio automatically generates a set of Razor CRUD components in a dedicated
folder (e.g. ProductPages):
Index.razor- records listCreate.razor- add formEdit.razor- edit formDetails.razor- record detail viewDelete.razor- delete confirmation
Repeat the operation for each entity: Category, Order.
Step 8 - Add an image field (BLOB)
Add an Image field of type byte[] to the Product entity:
public class Product
{
    public int Id { get; set; }
    public string Name { get; set; }
    public string Description { get; set; }
    public decimal Price { get; set; }
    public int StockQuantity { get; set; }
    public decimal Weight { get; set; }
    public bool IsAvailable { get; set; }
    public int CategoryId { get; set; }
    public Category Category { get; set; }

    [Column(TypeName = "BLOB(1M)"), DataType(DataType.Upload)]
    public byte[] Image { get; set; }
}
Generate and apply the migration:
dotnet ef migrations add AddProductImage
dotnet ef database update
Then update the EditProduct and CreateProduct components to add the upload field:
<div class="mb-3">
    <label for="image" class="form-label">Image:</label>
    <InputFile id="image" OnChange="UploadFile" class="form-control" />
    @if (Product?.Image != null && Product.Image.Length > 0)
    {
        <p>Image actuelle :</p>
        <img src="data:image/jpeg;base64,@Convert.ToBase64String(Product.Image)"
             style="max-width: 200px; max-height: 200px;" />
    }
    else
    {
        <p>No image available</p>
    }
</div>
And the method to handle the upload:
    private async Task UploadFile(InputFileChangeEventArgs e)
    {
        var file = e.File;

        if (file != null)
        {
            using var memoryStream = new MemoryStream();
            await file.OpenReadStream().CopyToAsync(memoryStream);
            Product.Image = memoryStream.ToArray();
        }
    }
Quentin Destrade