Deploying an HTTPS ASP.NET Core application with an SSL certificate can seem straightforward at first glance, especially in containerized environments. But between mounting certificate files in Docker, handling PEM and RSA formats for Kestrel, and configuring environment variables, every step requires attention to detail. This guide assumes a Linux server with Docker already installed and a working knowledge of basic commands for creating and managing images.
Step 1 - Install Certbot on Linux
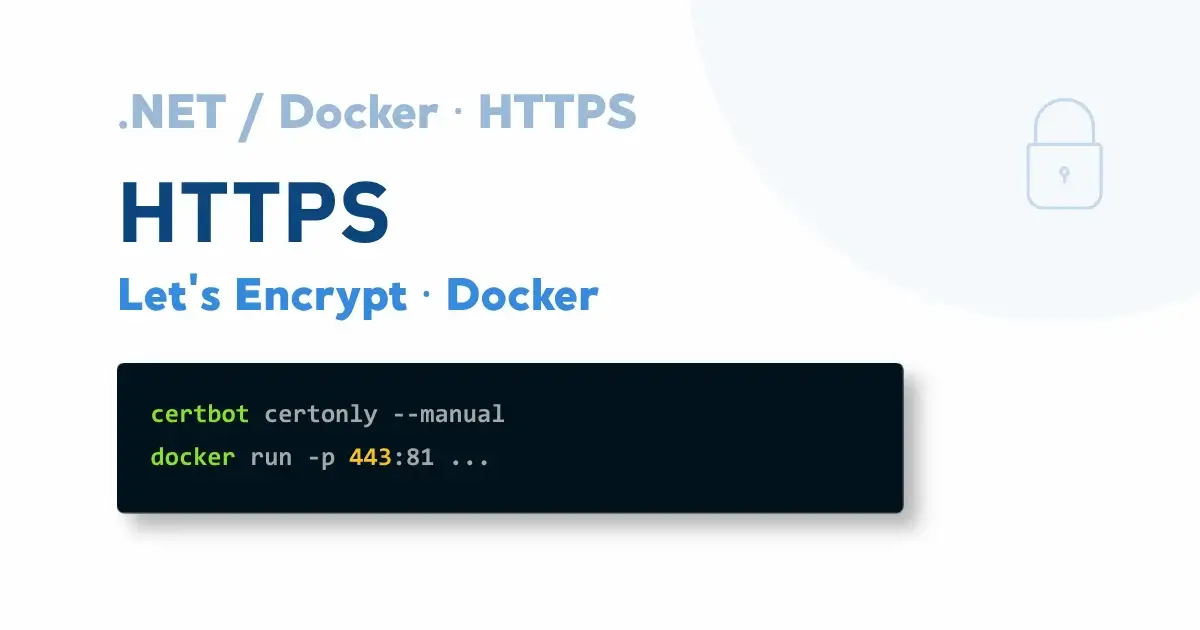
Certbot is a command-line tool that simplifies requesting SSL/TLS certificates from Let's Encrypt.
- Update the server and install Certbot.
# For Ubuntu/Debian
sudo apt update
sudo apt install certbot -y
Step 2 - Generate the SSL certificate with Let's Encrypt
To obtain an SSL certificate using the DNS-01 challenge, domain ownership must be proven by creating a specific DNS TXT record.
1. Generate an SSL certificate using the DNS-01 challenge:
sudo certbot certonly --manual --manual-auth-hook /etc/letsencrypt/acme-dns-auth.py --preferred-challenges dns --debug-challenges -d your-domain.com --key-type rsaThe certonly option retrieves the certificate only, without automatically configuring a web server, giving full control over its use in Docker deployments.
The --manual option validates the certificate through a manually handled DNS challenge, and --preferred-challenges dns specifies that the DNS-01 challenge is preferred as it is more flexible across many environments.
2. Follow the DNS challenge instructions:
Certbot prompts you to create a DNS TXT record to validate domain ownership:
Please deploy a DNS TXT record under the name
_acme-challenge.votre-domaine.com with the following value:

ABCDEFGHIJKLMNOPQRSTUVWXYZ123456789
3. Add the DNS TXT record:
In the DNS management section of the domain provider, create a new TXT record:
Type : TXT
Nom  : _acme-challenge.dev
Valeur : ABCDEFGHIJKLMNOPQRSTUVWXYZ123456789
4. Validate the DNS challenge:
Go back to the terminal and press Enter to continue. Let's Encrypt verifies the DNS record and, if correctly configured, issues the SSL certificate.
💡By default, certificates are generated in /etc/letsencrypt/live/.
Step 3 - Verify and convert the private key
Once the certificate is generated, it is important to verify that the PEM files are correctly formatted for Kestrel.
Verify the private key:
sudo openssl rsa -in /etc/letsencrypt/live/your-domain.com/privkey.pem -checkConvert the private key if necessary:
By default, keys generated by Let's Encrypt with Certbot are in RSA format. If a different format was used, conversion to the RSA format expected by Kestrel is done as follows:
sudo openssl rsa -in /etc/letsencrypt/live/your-domain.com/privkey.pem -out /etc/letsencrypt/live/your-domain.com/privkey-rsa.pemStep 4 - Run the Docker container with the PEM files
The certificate and private key PEM files must be mounted into the container so that Kestrel can access them:
sudo docker run -it -p 443:81 -p 80:80 \
  -e ASPNETCORE_URLS="https://*:81;http://*:80" \
  -v /etc/letsencrypt:/cert \
  -e ASPNETCORE_Kestrel__Certificates__Default__Path=/cert/live/votre-domaine.com/cert.pem \
  -e ASPNETCORE_Kestrel__Certificates__Default__KeyPath=/cert/live/votre-domaine.com/privkey.pem \
  my-docker-repository/my-docker-image:latest
The -v /etc/letsencrypt:/cert option mounts the folder containing the PEM files into the container. The environment variables specify the file paths so that Kestrel can use them at startup.
Step 5 - Test the application
Navigate to https://your-domain.com in a browser. A correctly installed SSL certificate results in a secure connection with the padlock icon in the address bar.
The ASP.NET Core application is now deployed with HTTPS in Docker, with a valid Let's Encrypt certificate and a portable, reproducible configuration across any Linux environment.
Quentin Destrade